
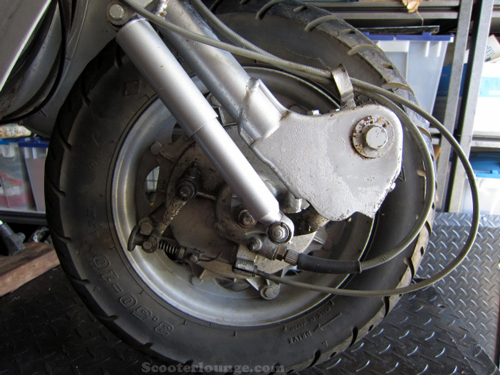
I did some work on my friend's brakes awhile ago, and now have had a few moments to write it up. As you may recall, his back brakes were bad. But so were the fronts, so here is how I went about replacing them.
This is the business end of the front fork in all its glory. Note that the rubber on the bottom of the shock is in rough shape. I chose to ignore it, since it was still functional. That's an easy enough fix, if my buddy wants to takle it himself. Now, on to the disassembly!
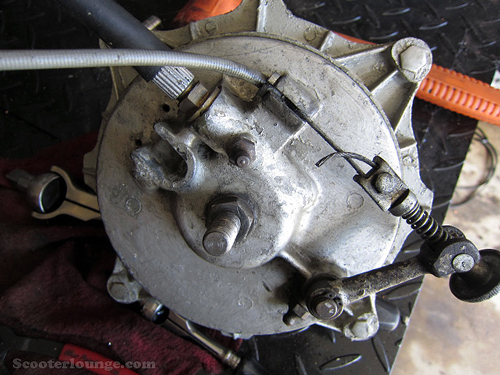
I seem to have forgotten to take a photo of getting the front wheel off the forks. Well, here is how you do it. You take the nuts that hold the bottom of the shocks, then pull the shocks. You can leave the tops on, and just swing them out of the way. Then pull the two nuts that hold the front axle to the fork links. Pull the thick washers that hold the axle onto the indents on the linkages, and then the whole front hub/axle assembly swings free. Then pull the front wheel off. That gets you what you see above. Then, pull off the inner nut on the axle that you see in the above photo. WEAR YOUR RESPIRATOR - CANCER SUCKS!!
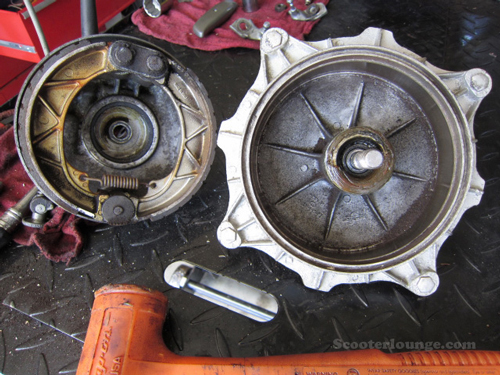
With the inner nut gone, tap the brake drum (on the right) with a rubber mallet, and the brake backing plate pulls free of the axle.
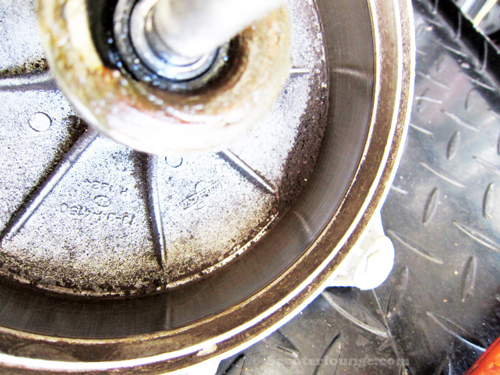
This photo shows the brake dust and crap that was inside the brake drum. Did I mention that you should be wearing your respirator? Yeah, you should.
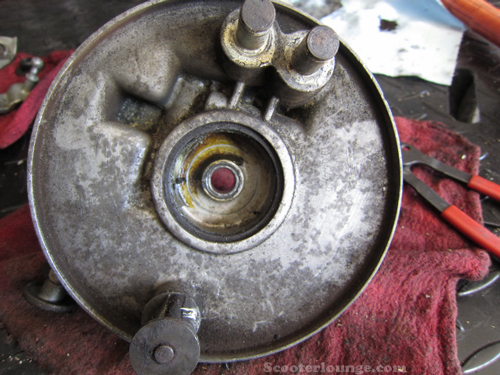
I pulled the brakes off the brake back plate as seen above, and then I cleaned it, along with the brake drum. Once everything was nice and clean, I put the new brakes on and put a dab of grease in the speedo drive mechanism. Note, the whole time, I kept the front brake cable and the speedo cable still attached. You don't have to do this, but I was not really interested in dealing with re-attaching them if I took them off.
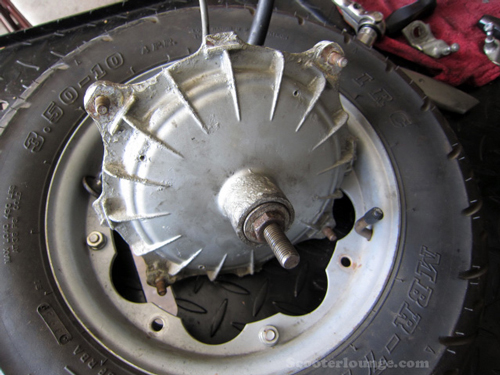
Here you see the whole hub buttoned up and ready to go back in the fork.
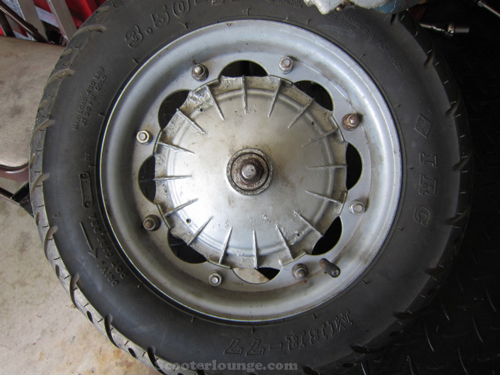
Wheel back on. Note the alternating domed and regular nuts. That's so you know which is a nut that holds the wheel to the hub, and which holds the two halves of the wheel together.
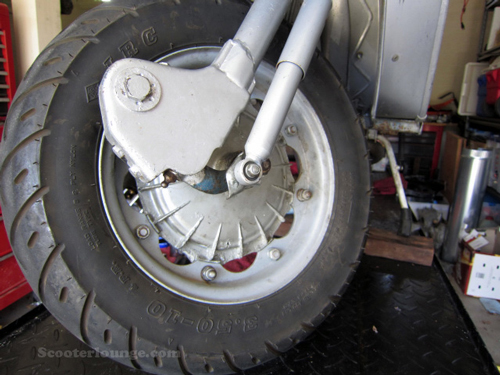
And then back into the fork. Once you get everything lined up how you want, then tighten up all the nuts. I keep them all a bit loose until then so you can make adjustments. There is always a bit of fiddling here until it is all set up correctly.