
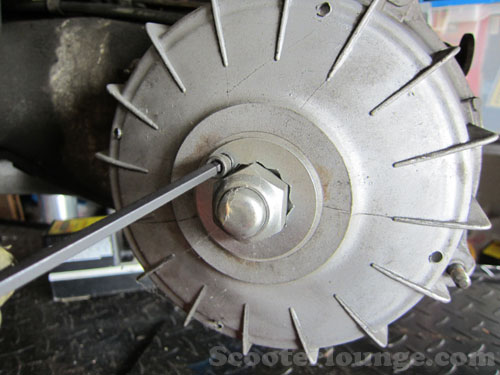
My friend Nick had me take a look at his Lambretta awhile back, and I realized that it essentially had no brakes. So I ordered up some new brake shoes and got to work! I'll focus on the rear brakes now, and show you the front brakes in a later post.
This is one of those jobs that just about anyone can doe with some basic tools. The only real special tool you need is the rear hub remover.
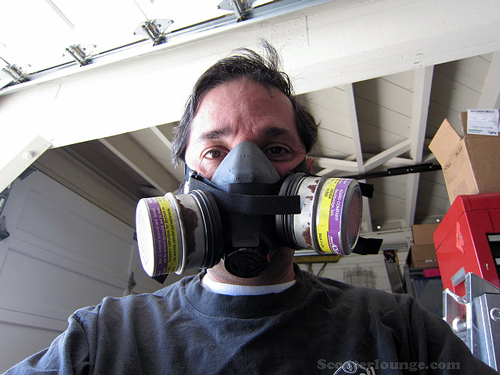
First things first, I got out my trusty respirator. Brakes often have asbestos in them. Some do, some don't. I don't take any chances, and ALWAYS wear a respirator when doing brake work. It is cheap insurance. Cancer sucks.
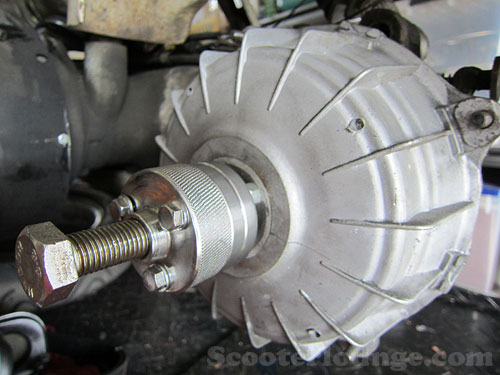
Here is a shot of the rear hub/brake drum, and my nifty rear hub removal tool. I just hooked it into the lock washer screw holes on the hub, and it just pops off.
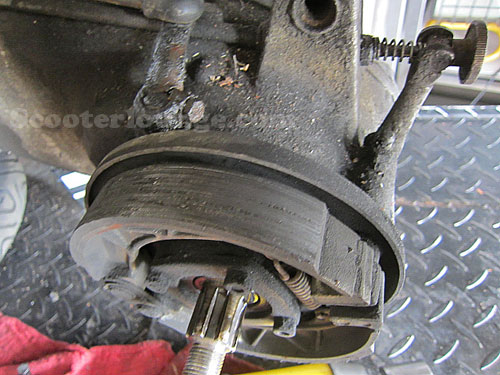
Now time to survey the damage. Yowch! The brake shoes are in bad shape. You can see gouges in the shoes. These are set for the garbage.
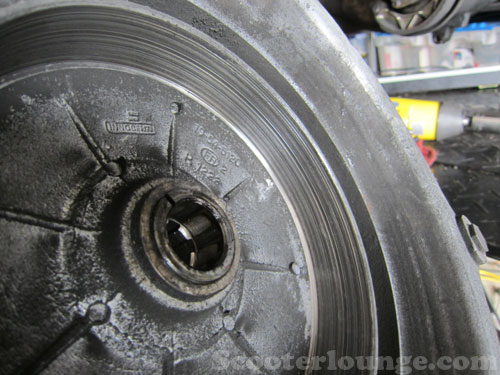
Now the brake drum. See the deep gouges? Yeah, hard to miss. Some metal or other debris got in here, and basically destroyed the drum. It looks like this is set for the garbage as well.
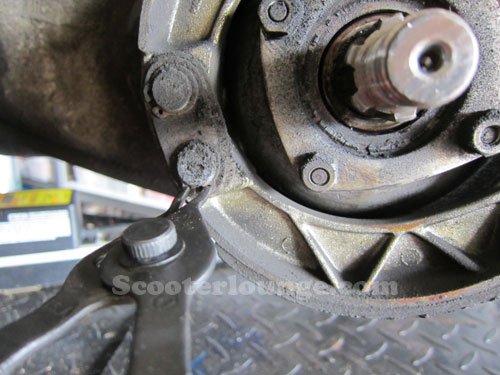
To get the brake shoes off, first, you have to remove the circlips that hold the front pin.
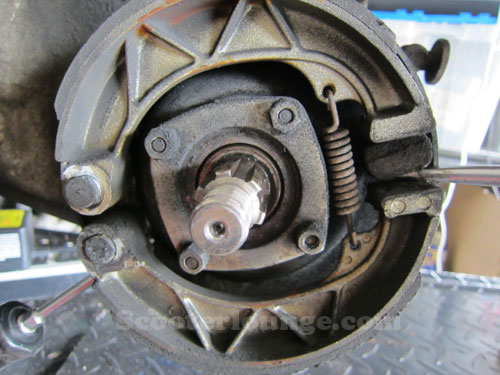
Then, you remove the retaining plate, and simply lever the shoes off. It helps to press the brake lever so you can get a screwdriver in between the shoe and the cam at the rear.
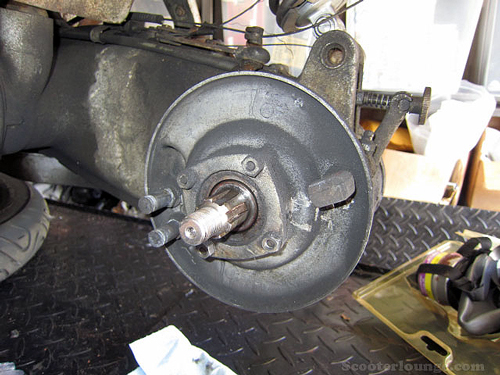
Here is the backplate with the shoes off. Note the large amount of brake dust and grime.
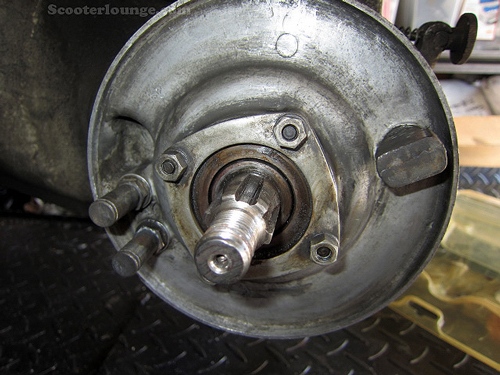
I cleaned all the stuff off with brake cleaner. The photo makes it look like it is still dirty, but that is mostly a trick of the lens. Trust me, this is pretty clean.
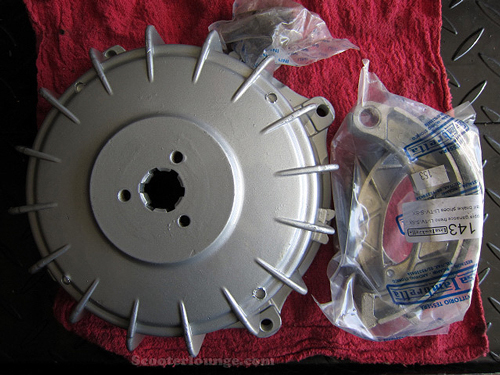
The new rear hub and brake shoes. Nice.
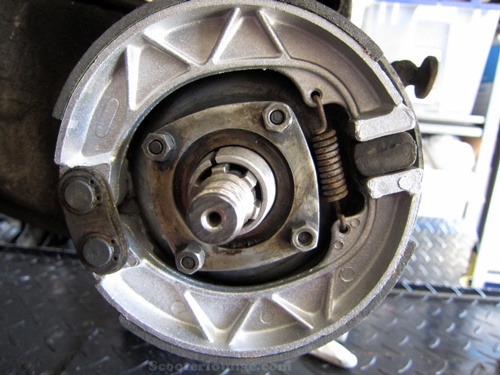
The new shoes are on. Nothing tricky here. Note that I fit the new rear hub cone to the rear axle.
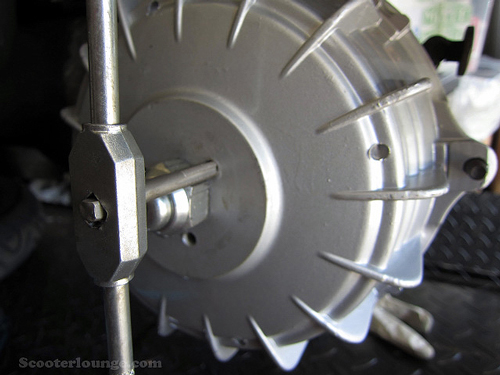
I used a thread tap to clean up the threads on the new rear hub. They had some paint or powder coat on the threads, so I cleaned them up so the locking bolt would slide right in.
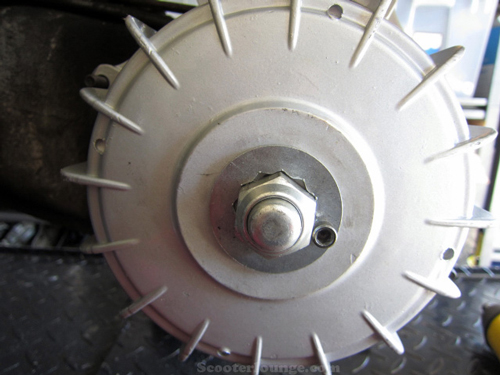
And here it is, all done. Rear nut torqued to spec and locked in place.