
When last we left this project, I had realized that the motor was not getting any two stroke oil, and had removed the old top end. I had started preparing the new top end for installation, and that leaves us here...
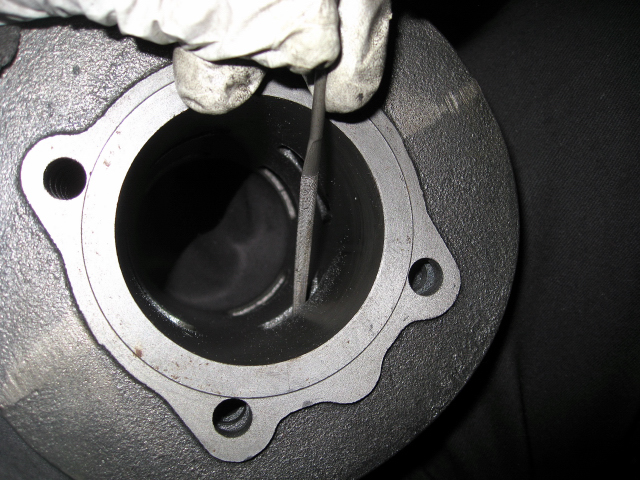
I previously modified the locating pin on the barrel, and made sure that it fit ok. Now, I prepared the barrel further by chamfering the ports. Basically, I just took a file, and smoothed out the edges of the ports inside the barrel. When these are cut, the edges are quite sharp. They can quickly wear down the piston rings. It helps to just smooth them down a bit to reduce any possibility of bad stuff happening. Every little bit helps when building a motor.
Read more below the jump!
With the barrel prepared, I installed the piston on the crankshaft. Make sure you put it on the right way! If there is an arrow on the piston crown, it should point to the exhaust. I had previously prepared the piston by installing the rings. Also, don't forget to install the base gasket for the barrel. Next, I put some oil inside the barrel, and gently eased it onto the piston. I squeezed the rings while pushing them both together.
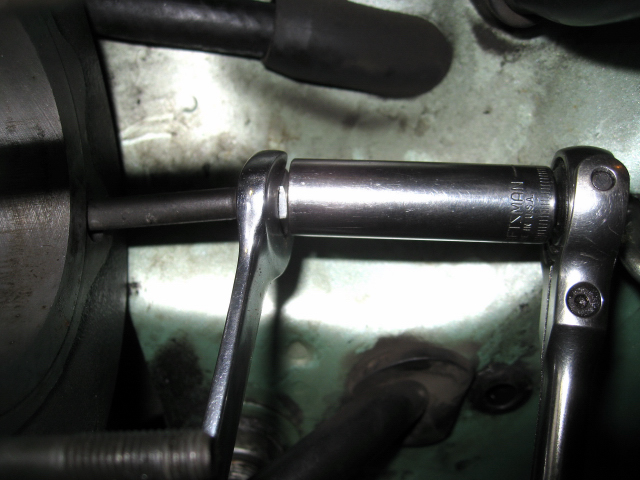
Once the piston was inside the barrel, it was time to re-install the studs. A stud installer/remover tool is very nice to have. If you don't have one, you can use the "double nut" method, as in the photos above and below. You simply put two nuts on the stud and tighten them up very snugly against each other. Then you turn the top nut, and the whole stud moves into place. Repeat on all four studs, and you're done.
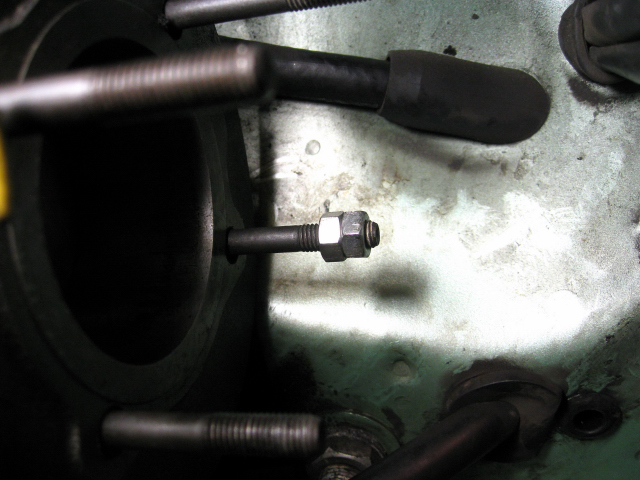
This is just a photo of what the double nut looks like on the stud. Once they are tight against each other, you'll turn the outermost nut to move the stud.
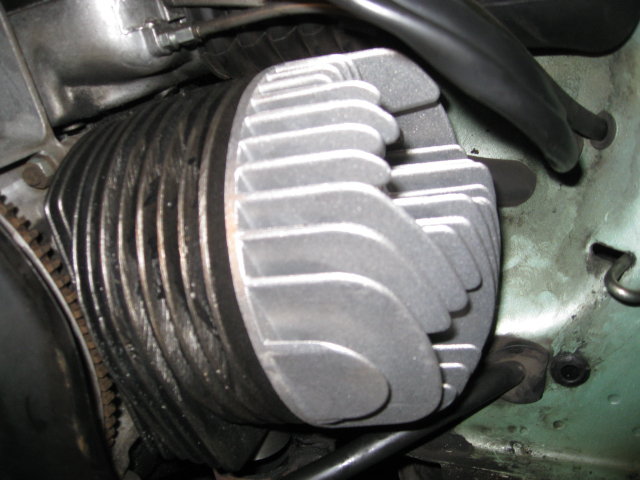
Next, put the cylinder head on the top end and check for position of the studs. If you put any in too far, you'll see it now.
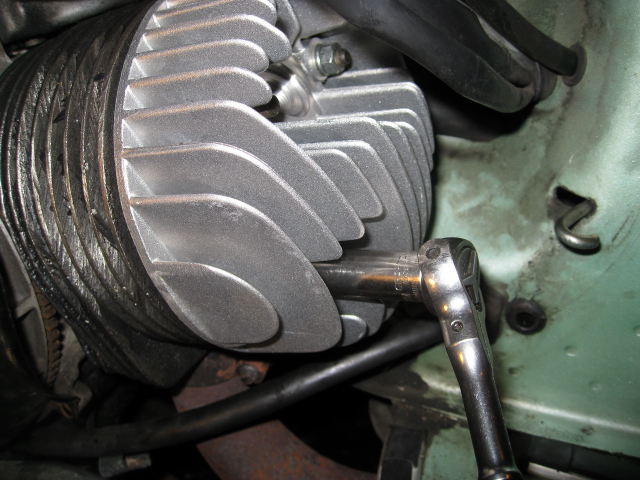
With everything lined up, it is time to put the cylinder head nuts and washers into place. Tighten them up, one at a time. The idea is to put even pressure across the head. So you just barely snug each nut down, alternating in a "X" pattern. You don't want any one nut to be significantly tighter than the rest. Set your torque wrench for the final tightening to 1.7-2.2 kg/m (12.30-15.91ft/lb)
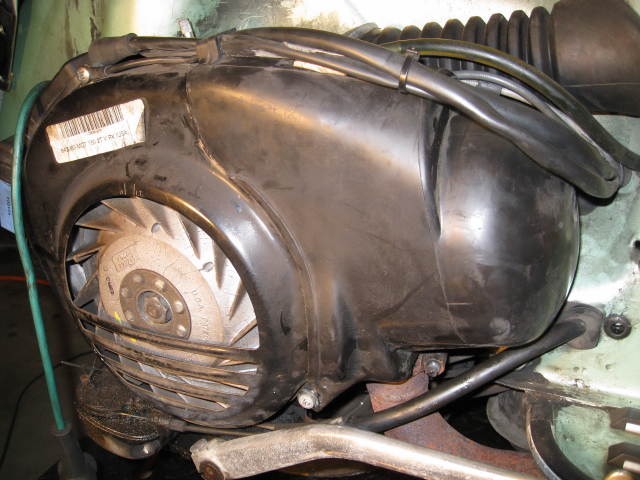
With the cylinder in place, it is time to button it all up. Install the exhaust, the cylinder cover, and the spark plug, and you're off to the races!