
When last we left off with the shock replacement, I realized that I would have to remove the shock buffer. To do that, I needed to remove the gas tank. I had removed the parcel tray, and now, we're moving on to the next steps...
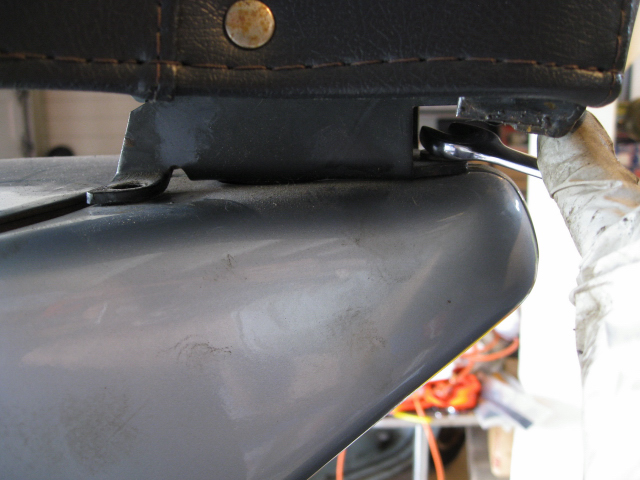
After removing the parcel tray, I needed to remove the seat. The seat has three bolts. The two on the back are easy to get to with a ratchet, the front requires a wrench.
More shock removal fun after the jump!
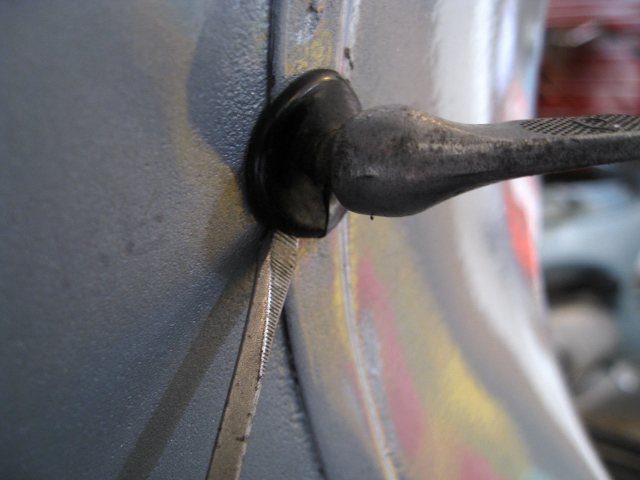
Next, I prepared the tank for removal by pulling the fuel lever grommet. It is easier to pull the tank out if the fuel lever is set to the "on" position. So I turned it straight up after removing the grommet. I won't be taking the tank all the way out, so I'm going to leave the fuel line attached to the carb, for now. Once I get the tank up from the body, I'll see how much slack I have in the line. If it is too short, I'll remove the line from the carb to give myself a bit more room. As it turned out, in this case, I was ok, and I didn't have to remove the line. Obviously, if you have to remove the fuel line from the carb, you'll want to turn the fuel tap to the "off" position.
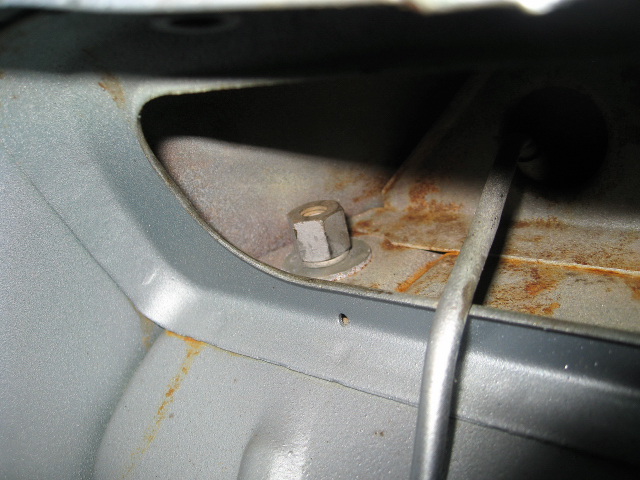
Here is a view of the inside of the body where the shock buffer attaches. The nut at the center of the photo is what holds it on. I simply got my wrench in there, and removed it. It is a tight space, so you'll have to be a bit patient to get it off.
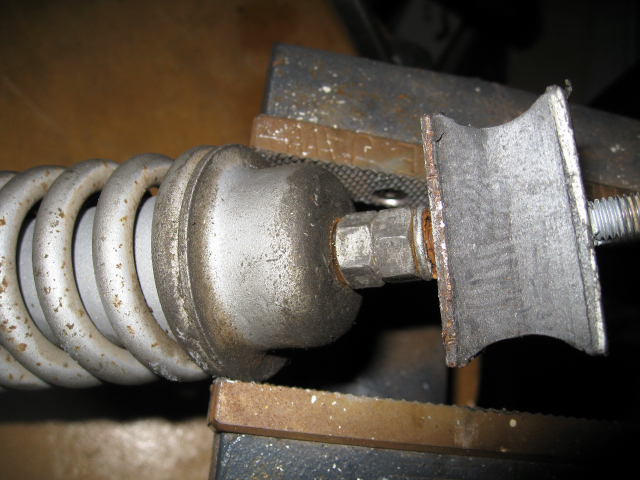
The buffer and shock are pretty well rusted together. I put the top of the shock into a vise to hold it, while I worked on getting the two apart. Some penetrating oil and a bit of muscle freed them up. Once the buffer was off the old shock, I put it onto the new shock.
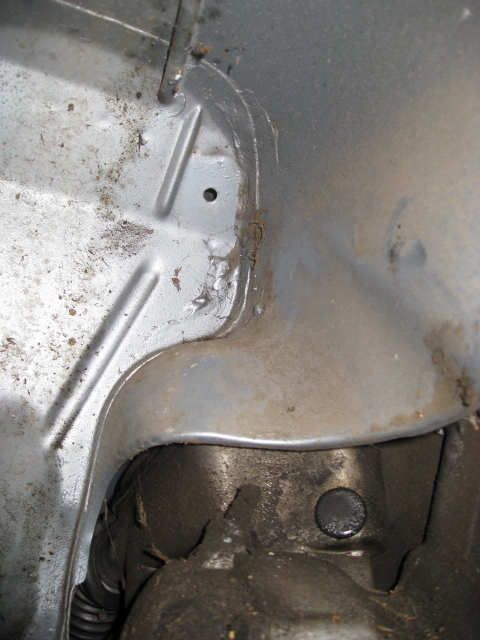
Here's a view under the frame of the hole where the buffer fits. It is kind of small, and since it is hard to see under there while you are fitting the buffer/shock combo, it can be tricky to get it seated properly. Take your time. Obviously, the buffer fits in only one direction. Make sure you have it set correctly.
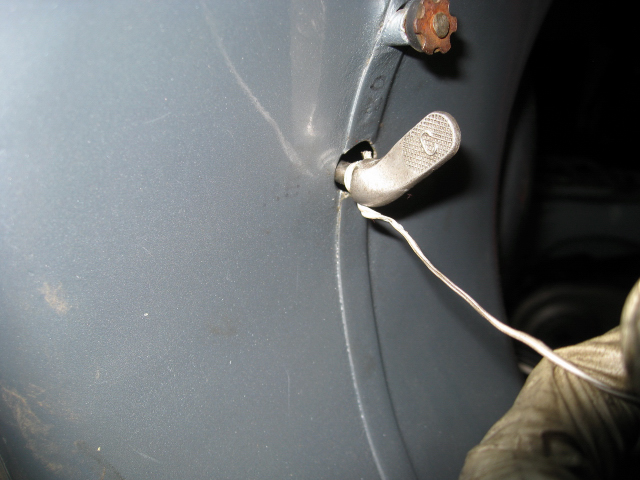
With the shock/buffer in place, it is time to put the gas tank back in, and button everything up. It all goes back the opposite of the way you took it off. The only trick I have to share is how to get the gas tank back in. You may have noticed that the fuel lever has to come out of a very small hole in the frame. With the gas tank in place, it is impossible to move the fuel lever into position so it exits through the frame. I use a long piece of twist tie to help guide the lever. I tie one end around the end of the lever, and snake the other end through the frame before I drop the tank all the way in. That way, I can guide the lever through. Using twist tie helps because, although it is flexible, it has some tension, and you can use it to both push and pull the lever to guide it into position.
With the tank in place, you simply put the seat and rear tray on, and you're good to go!
Yes indeed. I really like the VBA for sure. This one does have the wing nut on the fuel cap. Lots of little details...