
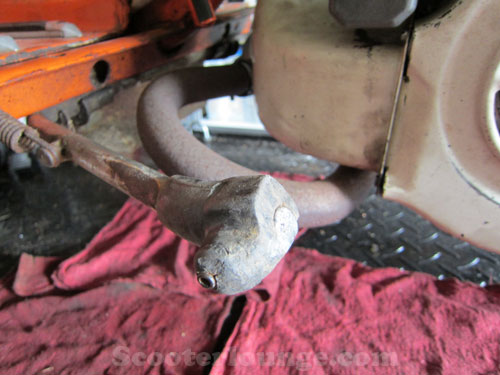
Vintage vehicle ownership is not all about full restorations and making things shiny. No, it is mostly an exercise in keeping entropy at bay. Often, it is the really small things that end up taking much, much longer than you anticipated that end up being the focus of your efforts.
As a case in point, I give you my recent job of replacing the center stand rubber feet on the orange GP 150 that I've been working on.
Above, you see the existing feet as they were when the scooter was wheeled into my garage. The rubber was all rubbed away, and it the metal on the feet was starting to get ground down. Clearly, way past time for replacement. I figured it would take me about 15 minutes to pull these off and put on some nice new feet that I got from Jet200/Casa Lambretta.
I was wrong.
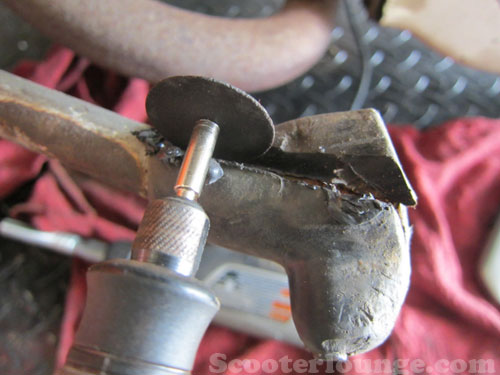
I first tried to remove the feet with a razor, but they had become really hard with age. So rather than mess around, out came the Dremel, and I sliced them off with a quickness.
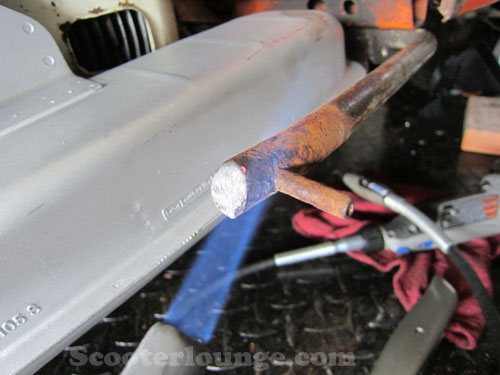
Then came the chore of taking out the locking pins. The way the feet are on a Lambretta really epitomizes one of the things that really irks me about these scooters. It seems as though the engineers had a mantra "why use one part for something when you can use eight parts?" Seriously, on a Vespa, the stand feet just slip right on. On a Lambretta, they have a hole drilled in the center stand, and the feet are locked into place with this horizontal metal dowel that is pounded into the stand. Why? All of it is needlessly complicated. In any case, the pins on this scooter were, as they often are, rusted into the center stand. They would not come out with normal means. So it was time to pull out the big guns. I heated the crap out of them with my MAP gas torch. You can see the tip of the torch in the photo above. Yay fire!
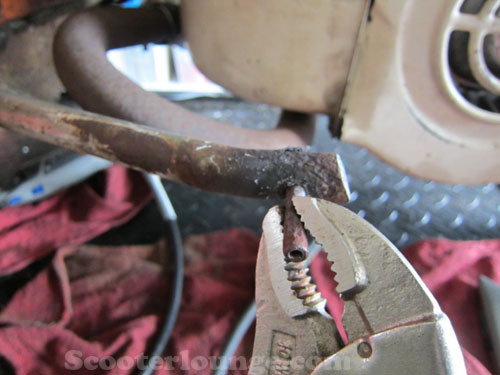
With everything smoking hot, I got my vise grips on there, and they pulled out with a bit of muscle.
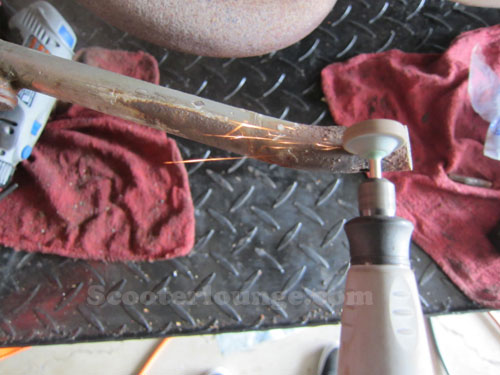
Then, as you could see in the photos in the previous sections, the stand was pretty rusty down where the new feet would go on. I dressed the area by removing the rust with my grinding wheel. Then, I applied a coat of primer to the ground area so that it would not just immediately start rusting again.
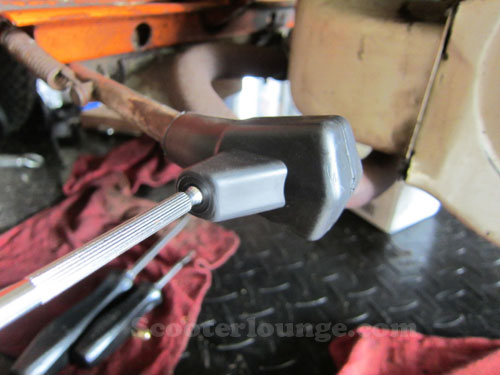
The the bottom of the stand prepared, I slipped the new feet into place. I used a small screwdriver to line up the dowel pin hole on the feet with the hole in the stand.
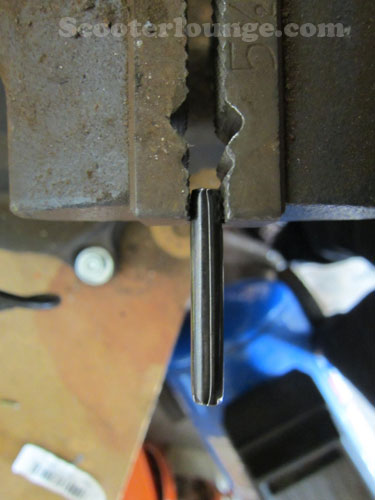
Then, I put the new pin into my vise, and pinched down the end a bit. That way, it would more easily slip into the hole on the stand without intitially binding up.
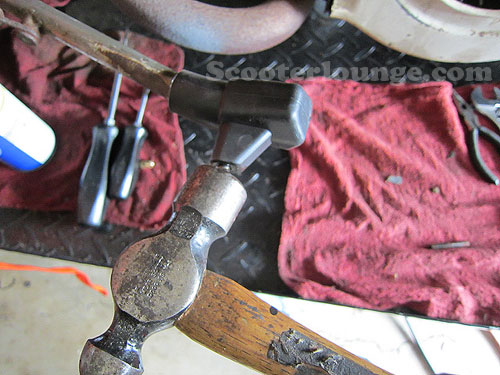
Once I had the pin properly located and seated in the stand, I simply whacked it with my hammer to get it all the way set. Now the scooter sits correctly without wobbling, and most importantly, the center stand is not getting damaged by grinding on pavement.
This is a job that the average scooterist can easily tackle, but just be prepared for it to take longer than you might expect!