
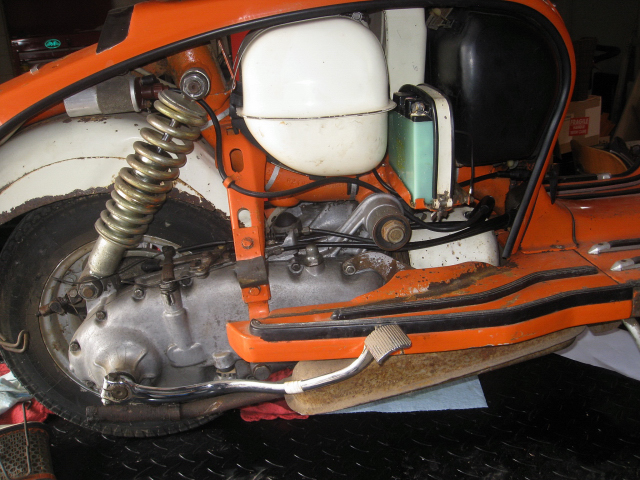
Well, I finally got some time to dig in to that tasty Lambretta GP150 that I featured last month. I had tried to kick it over, but the clutch was clearly stuck. Time to crack the cases and put in some new clutch plates!
More Lambretta clutch goodness below the jump
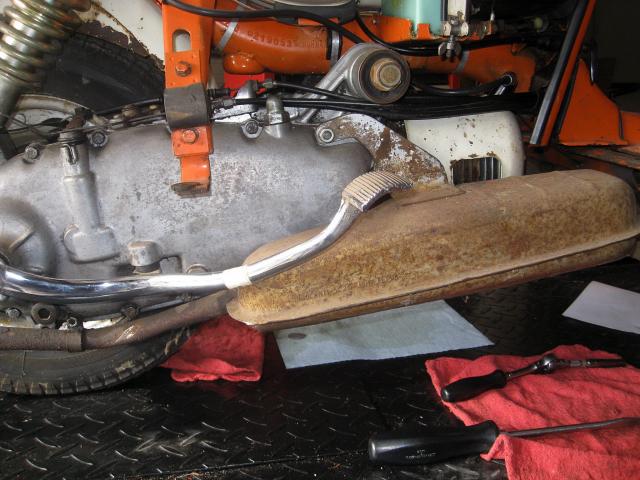
First things first... I pulled off the rear floorboard. Everything looked nice and clean under the scooter, and it came off easily.
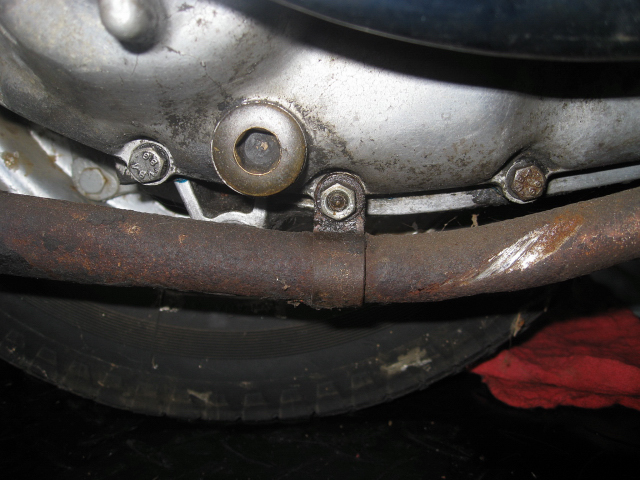
Then I pulled the exhaust to get access to the motor. When I got it off, it felt abnormally heavy. My guess is that it is filled up with two-stroke gunk and rust. That will have to be replaced. No big deal, since excellent quality repro exhausts are available and relatively cheap.
I took this photo to show the case studs. I have not worked on an Italian GP before. The Indian GP's also use bolts instead of studs for the cases. I didn't realize that the Italians did that too. I've replaced the bolts with studs on all the Indian motors that I've worked on for safety's sake. It is easy to over-tighten a bolt and strip the threads right out of the case! I can only imagine that they stopped using studs as some ridiculous attempt at economy. In any case, I'll leave these in here for sake of originality. On the other hand, note that the exahust uses a stud, and not a bolt. That makes a lot of sense, but I wonder if that was factory, or whether some shop in the UK made that very sensible upgrade.
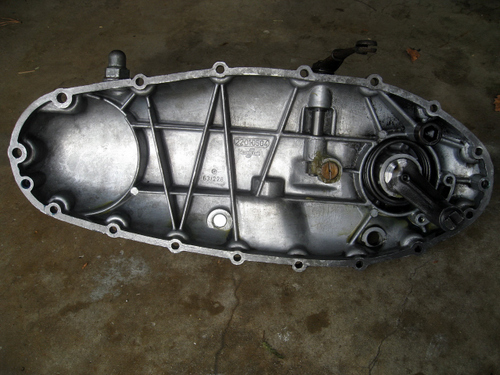
After the exhaust was off, I pulled the case side. Here is a shot of of it, with the casting numbers... for Dano, who loves that sort of thing.
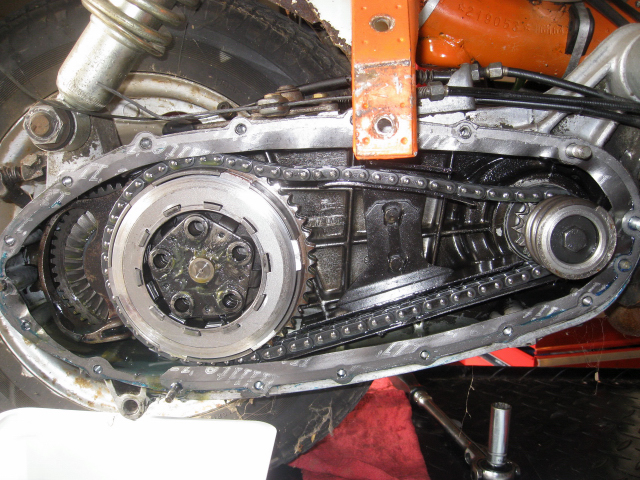
A view of the innards of the motor. The clutch is the big disc on the left.
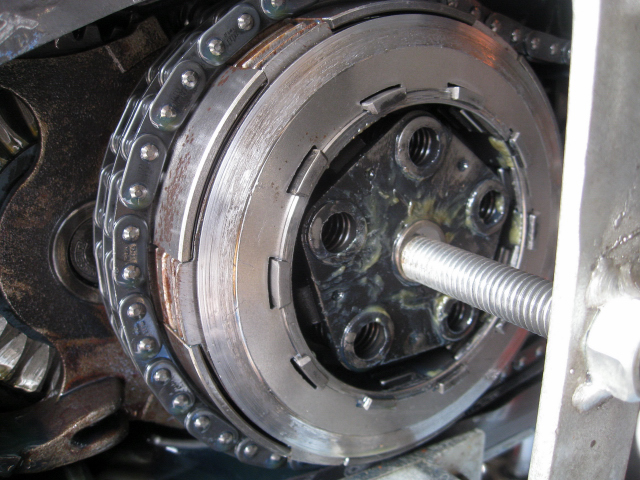
I could not find my Lambretta clutch compressor tool, so I borrowed one from my buddy Dano. It attaches to the motor case, and then pushes down on the center of the clutch to pull the pressure off the springs. The photo above, shows it in action.
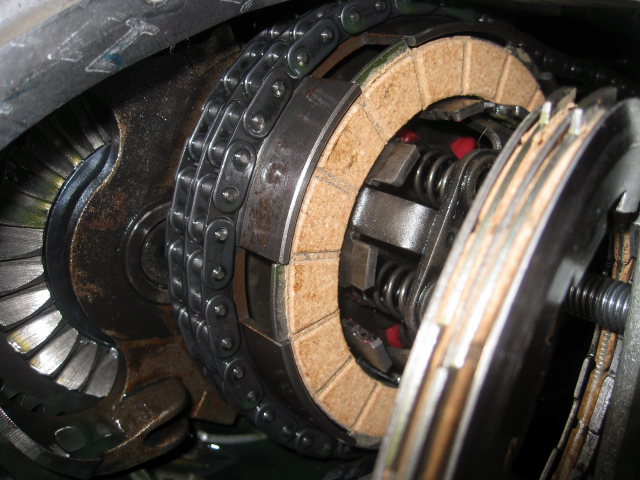
It is a bit tricky to get the clutch plates back in. You have to get the plates onto the clutch tool, and then put some pressure on the springs to get them loaded into the clutch basket. With that done, you put the plates back in the opposite way they came out. Then close up the motor. No big deal.
The problem came when I tried to test my handiwork. Now that the clutch was not slipping, I could tell that the top end had siezed. This scooter was sitting for at least ten years with no use. The top end must have siezed during that time. It is a bit humid up here in Northern California.
Look forward to the next installment, where I tear apart the top end of this beastie... and hopefully declare victory and take it for a ride!