
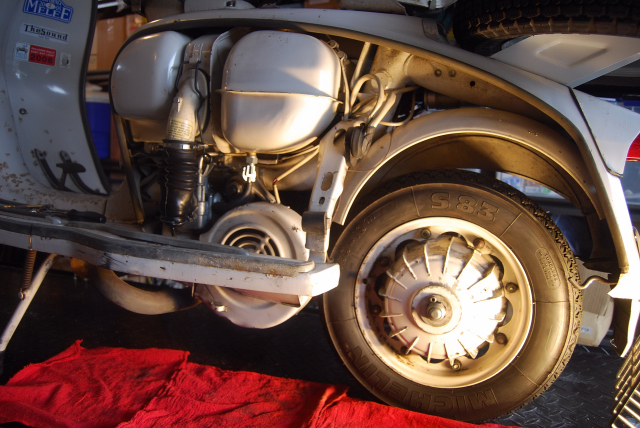
A friend has a Series III Lambretta that has been nothing but unreliable. My stock query in those situations is "Have you installed an electronic ignition yet?". I'd have to say that 90% of the problems that stock Lambrettas have can be traced to their crap ignition/electrical system. So here we are, replacing the stock Ducati system on this scooter, with a nice, shiny, new electronic ignition I sourced through Jet200 Performance in Seattle.
I must say, the parts I got from Jet200 were great. I've done quite a few electronic conversions. All of them were with Indian made components. They have have been fine (apart from a few faulty components out of the box)... but the German made stuff that Jet200 stocks is just head and shoulders above what I have used before. The stators look OEM quality. This is especially in comparison to the Indian stuff, which often look like a blind guy soldered the connections in a back alley sweat-shop. I'll discuss each of the components in detail as we get to insalling them, but suffice to say that I'll be using these German stators from Jet200 every time I do this job again!
So, now, let's turn to the job at hand. I got the scooter up on the lift, and took off the sidepanel to survey the landscape. It all looks pretty tidy and stock in there - time to dig in!
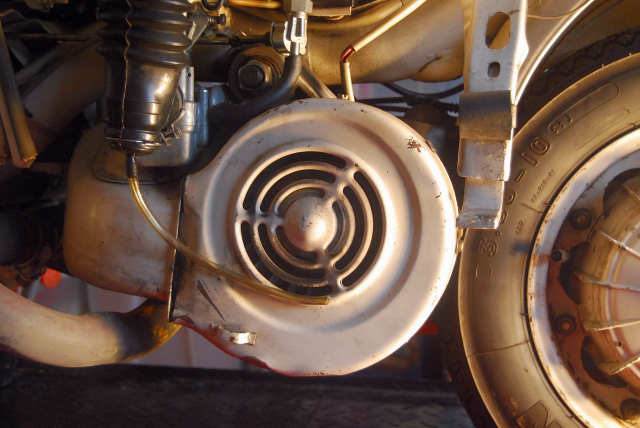
I started by removing the left footboard. This is a late-model Li, so the footboard only had one nut in the back, as opposed to the earlier version with two. No rusted nuts meant removing the flootboard was a breeze.
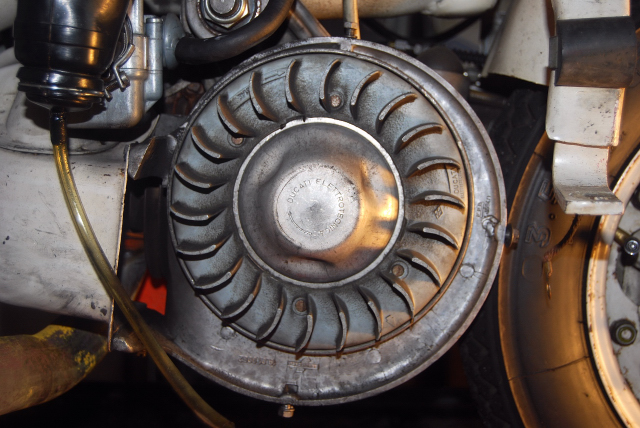
Next, I removed the fan cover. This one actually had all (but one) of the small bolts that hold it in place, and miraculously none of them were stripped!
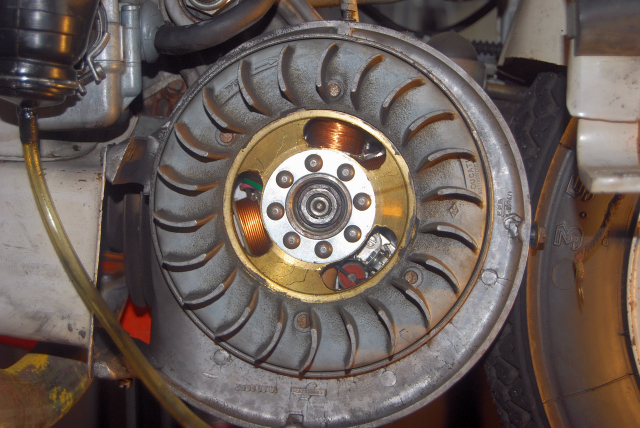
Next, I removed the flywheel dust cover, to reveal the nice brass inside guts of the flywheel. Pretty, yes... functional, no.
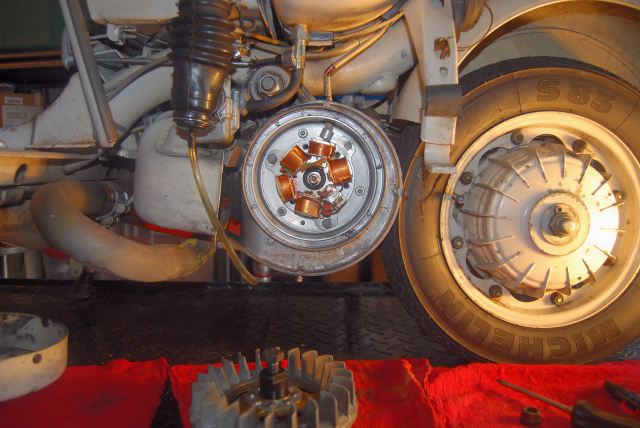
Now to get the flywheel off. I took off the flywheel nut - keeping in mind that this nut is reverse thread. I then pulled out my trusty Lambretta flywheel puller and my air-powered impact wrench, and went to town. The flywheel popped off with little effort. Everything was clean inside, which is a good sign.
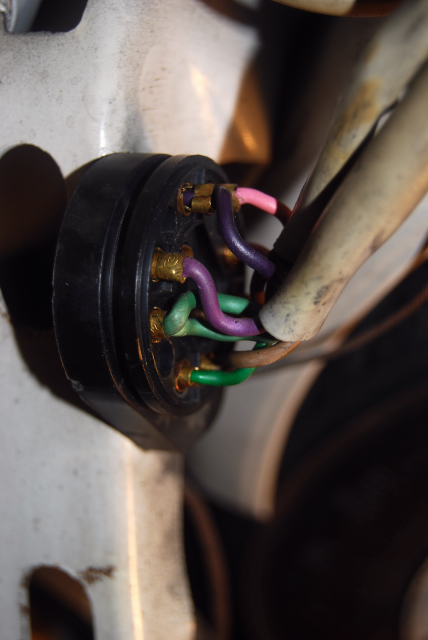
I then removed the wiring from the wire junction box in preparation for removing the stator plate. I'm lucky that this scooter is a non-battery model with a very simple junction box. This will make things a lot easier when it comes time to wire in the new stator. The junction box is color coded, and the wires all match up with little dots of color on the box. Everything is totally stock, and appears to be un-molested. Goodie!
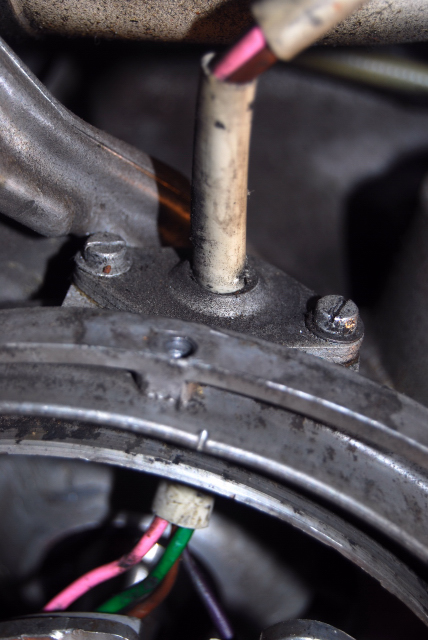
Now that I have the wiring from the stator off the junction box, it is time to pull the whole thing through the mag-housing. I removed the bolts that hold the stator on, and got ready to pull. The mag housing has a small opening for the wiring loom, which has a rubber seal. I sprayed the wiring loom cover with some WD-40 so it would slide through the rubber seal without damaging anything. The stator is out, and presumably ready to toss in the garbage can.
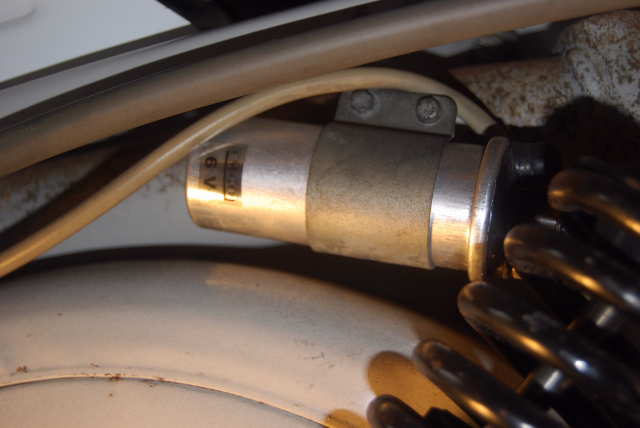
Now we turn our attention to the last other bit of the iginition, the HT coil. This one is held on with two long bolts through the frame. I simply removed the bolts and pulled the coil free of the frame to get access.
Then, I removed the ground and power wire to the coil. Finally, I removed the spark plug wire. I kept the spark plug wire in place because I'll use the same wire for the new setup.
Well, that was a lot of work for today. Follow along with the next installment, where I'll actually put the new components in the scooter!