
A friend of mine has a 60's Allstate Vespa that is largely original. It still has the non-dampened "springer" front fork on it. Anyone who has ridden one of these can tell you that this set-up is laughable at best, and dangerous at worst. Many people who own one of these Allstates, and ride it regularly, will update the fork to the Vespa version.
On this one, it resides in a collection and isn't ridden much. However, my friend noticed that the front end was a bit funky and asked me to take a look. I quickly determined that the bottom of the front spring had somehow become detached from its mounting on the front hub assembly.
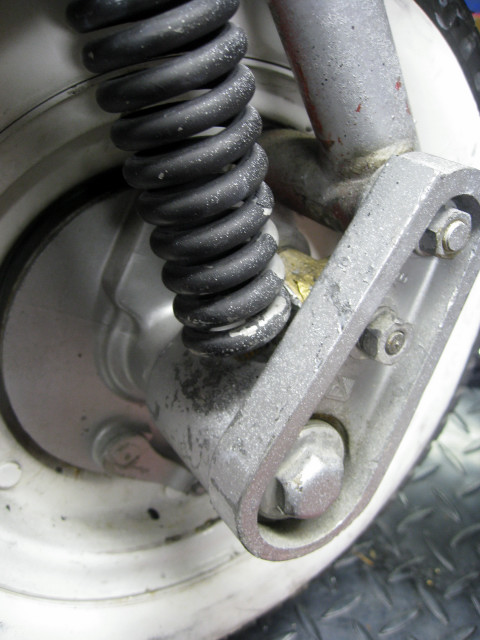
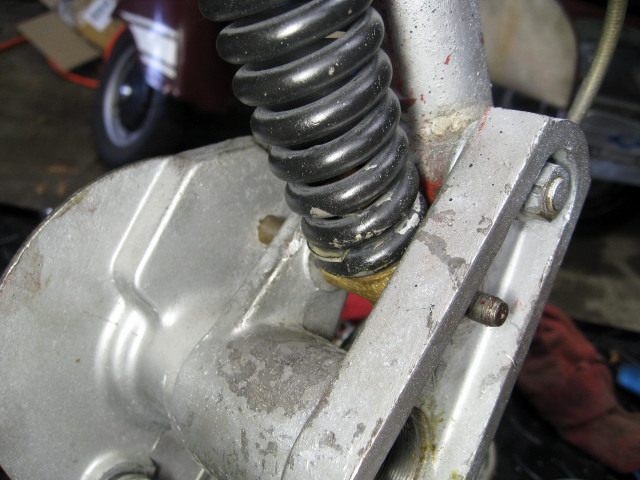
You can see how the spring is hanging loose from the front assembly. The bit of brass color peaking through in the photo is where the spring should be attached. Whoa! This is very dangerous, to say the least.
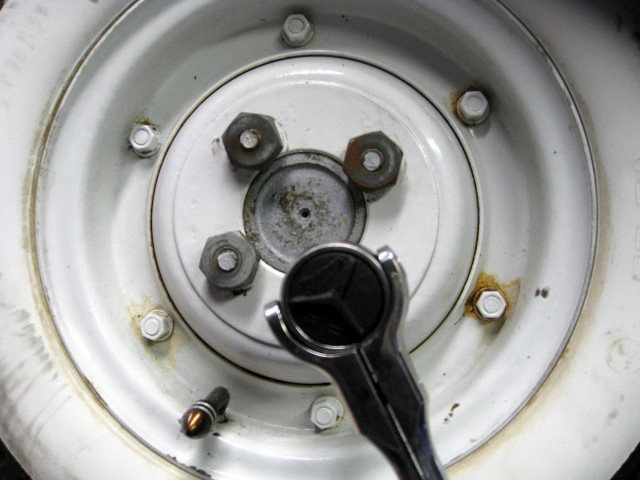
The first step in fixing this is to remove the front wheel to get better access to the spring and front hub/axle assembly. Simply remove the four wheel lug-nuts, then pull off the wheel. This reveals the brake drum. It is held in place with a small locating screw. This can be tricky to remove as it can get stuck in place. If it won't move easily, don't force it with a screwdriver. If you strip it, it will be very hard to get out. I have a hand impact driver that works great in situations like that. One should be in your toolbox too.
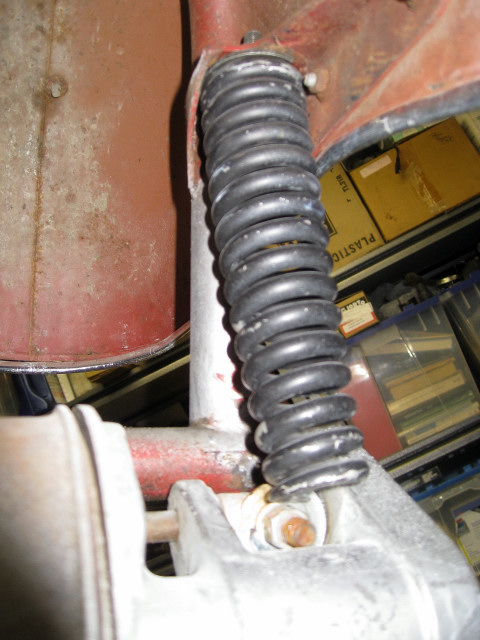
Here you see that the spring is totally free from the mounting point. Yowza!
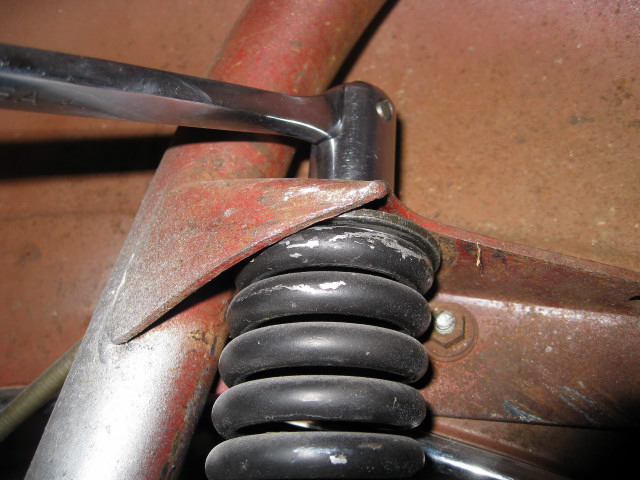
In order to re-attach the spring, it is easiest to have it free from the front fork. It is held on by a nut at the top of the spring.
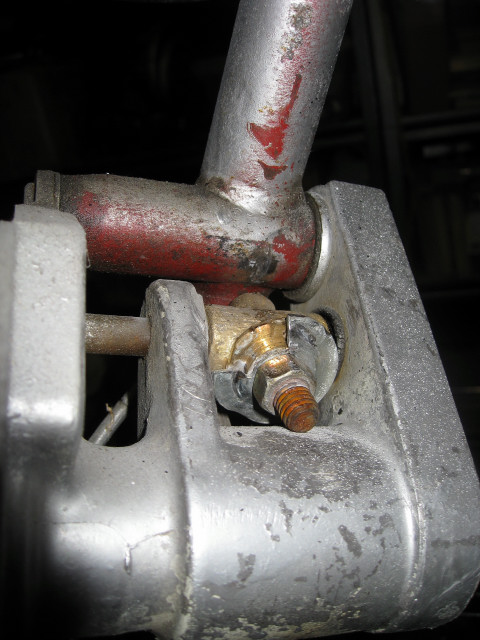
Here you see the bottom attachment tab/bracket. It is held on by the nut in the center. Remove the nut and the tab.
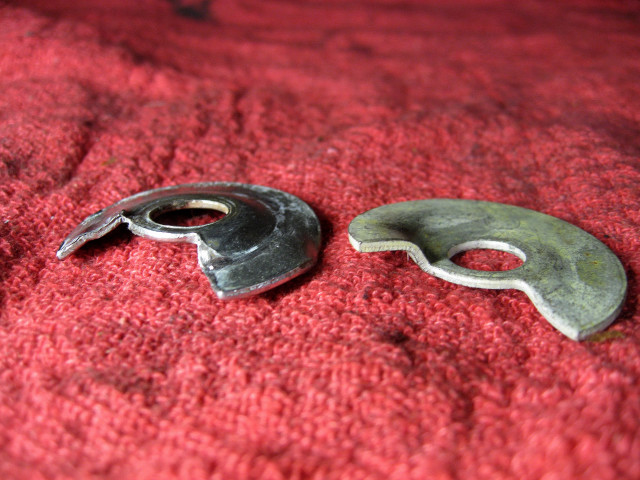
This is a detail photo of what I found. The one on the left is the mounting tab that was on the scooter, and the one on the right is the replacement new one. As you can see, the raised portion of the tab was bent down, and so it could not slip into the bottom of the spring to hold it. It must have come loose somehow, and had the spring resting on it, which pushed it down. As we'll see in the photos below, this mounting tab simply threads through the bottom of the spring to provide a hole that will give the mounting nut something to grab on to. Such basic technology, but it works!
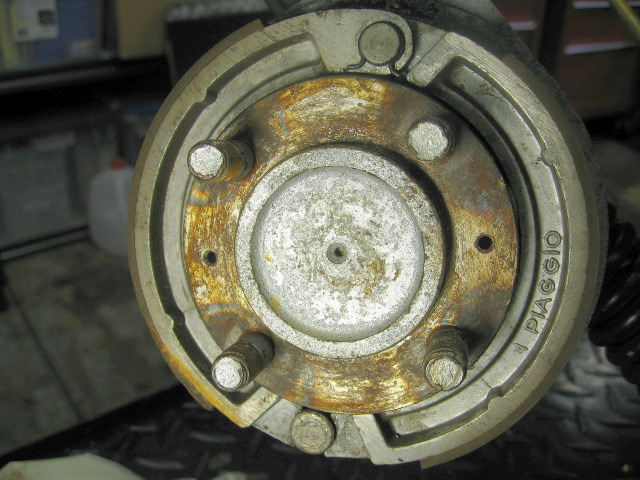
The bolt that holds the bottom of the spring is attached to the front assembly by a bracket that rotates around a horizontal bar. In order to get this thing mounted, it is much easier to remove the bracket, which necessitates pulling the bar out of the assembly. To do that, you'll need to remove the front axle. Here we see the wheel-side of the axle, which has the wheel mounting studs attached. We're going to push this out.
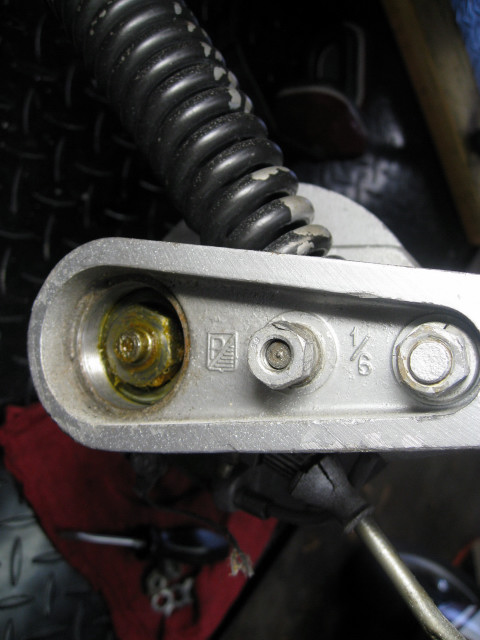
Getting the axle out means removing the large nut on the left. First, remove the zinc colored nut cover, which I did just before shooting this photo. Then lock down the wheel side of the axle and remove the nut. I used an impact wrench, which made the job very easy. Note that the middle nut in this photo is on the bar that holds the bottom spring bracket and is the brake shoe pivot stud. After we remove the axle, and the brakes (see below), we'll be removing that nut as well.
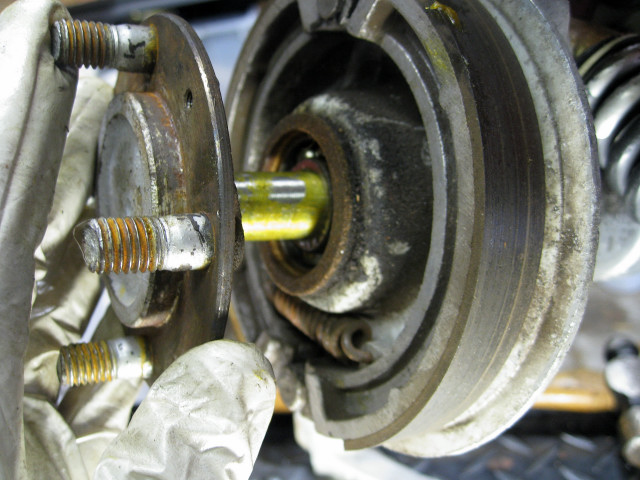
With the nut off, simply tap the axle out. I used a punch in the center of the axle, being careful not to damage the threads.
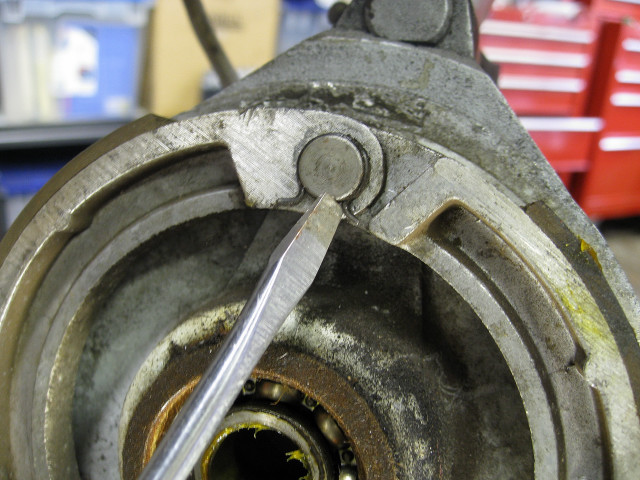
With the axle out of the way, you can access the brake shoes. Remove the circlip, and pop them off the mounting pivot stud. If your brakes are obviously worn, now's the time to think about replacing them. These were fine, so I didn't end up using the replacement set I had on hand.
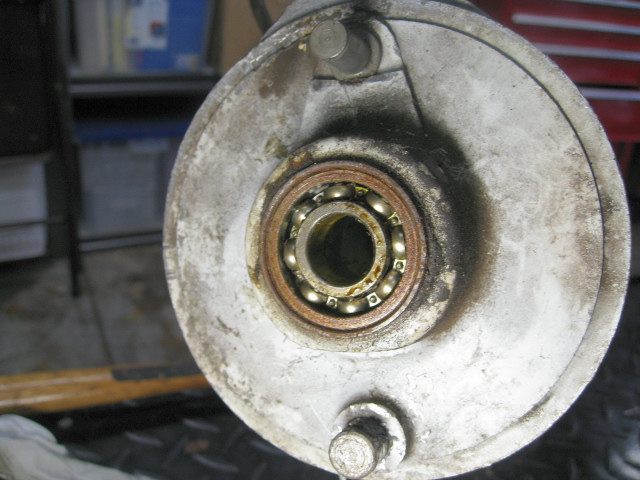
With the brake shoes off, we have access to the brake shoe pivot stud, as seen at the top of this photo. That stud also holds the bracket for the bottom of the spring. We remove the nut on the other side of the bar (as discussed above), and tap the whole bar out of the wheel assembly. That frees up the bracket for the bottom of the spring.
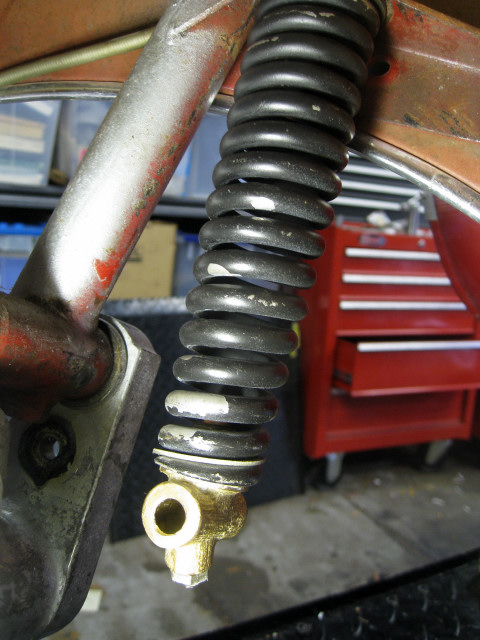
I threaded the bottom attachment, with the new tab, onto the bottom of the spring. Then I re-attached the spring to the top of the fork. Here you see it attached to the fork, with the bottom attachment hanging free. That makes it very easy to line up with the front hub assembly for re-attachment through the mounting bar/brake pivot.
Here we see the whole thing in place with the mounting bar all the way in. Now all you have to do is to put everything back where it was. Put the nut on the mounting bar. Re-install the brake shoes with the circlip. Re-install the axle and the axle nut... greasing up the components if needed. Note: when re-installing the axle, be sure to watch out for the speedometer drive, as it can be easily damaged. I spun the axle as I put it in, and took care to make sure the speedo drive gear was also spinning. After the axle, axle nut, and axle nut cover are in place, re-install the brake drum and the front wheel. You're done!