
When we last posted, I had gotten most of the motor disconnected from the frame. Let's continue, and finally get this motor out!
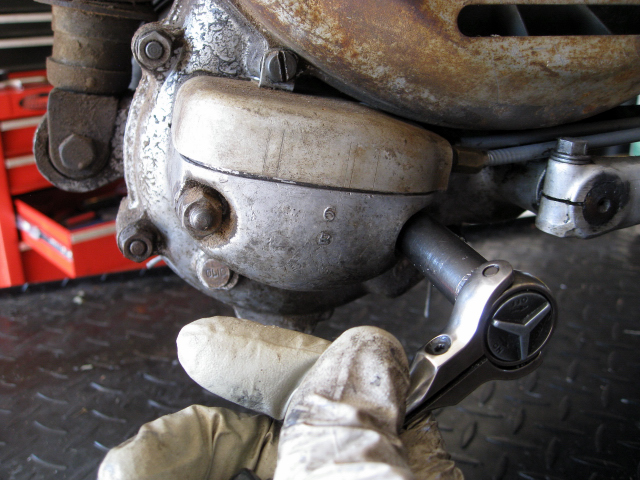
We are going to reuse the gear selector box, so I will pull it off as one unit with the control cables. This has the added bonus of saving me the time to re-install and adjust the cables. Of course, while the selector box is off, it is an excellent time to make sure the cables are perfectly adjusted.
I start by pulling cover off the top of the selector box, then I remove the two nuts off the outside of the selector box. Then, I turn the control on the headset, while at the same time, putting gentle pressure on the selector box outward. Once the box is free from the motor, angle it downward so the selector arm on the box is free of the arm inside the transmission.
More motor replacement fun below the jump!
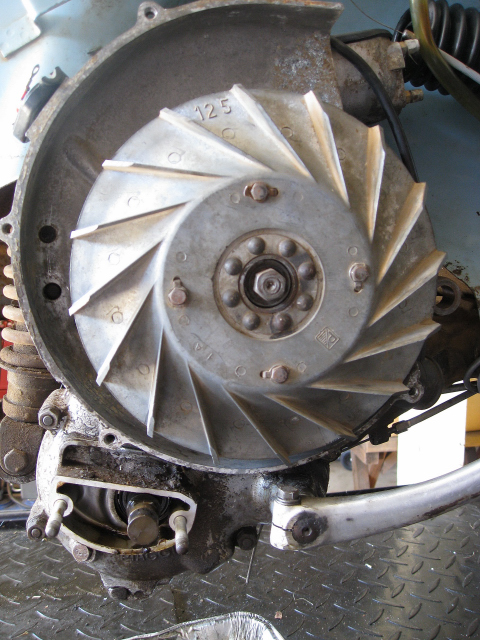
Here is what the motor looks like with the selector box off, and neatly out of the way. Now, we just have to remove the remaining cables so the motor will be completely independent of the frame.
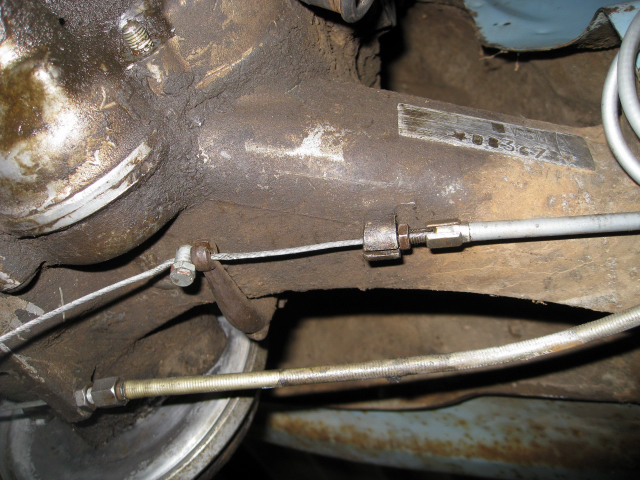
Here we see the last two control cables, the clutch (above), and the rear brake (below). First, I'll pull the clutch cable. It is interesting to note the original cable adjuster. The adjuster, adjuster nut, and tab on the motor are all slotted. This allows the cable to slide out without removing the adjuster. Kind of neat, but kind of unnecessary... which is probably why Piaggio stopped doing it.
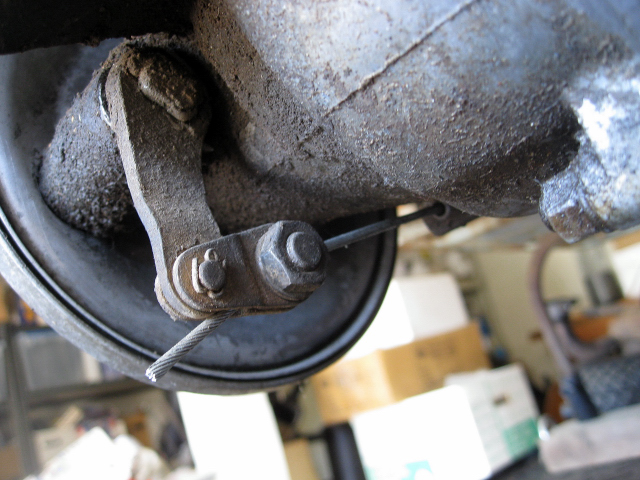
Next, I remove the rear brake cable. Simply unscrew the nut, and pull the cable through. Make sure to pull both the brake and the clutch completely free of the adjusters, and off the motor. Now, the motor has nothing attaching it to the frame. I then pulled off the carb airbox completely, so it wouldn't get in the way. The only thing to do now was pull the motor.
I removed the rear motor bolt from the bottom of the shock. That let the back of the motor swing down. Then I removed the front motor bolt. It took a bit of tapping with my rubber mallet before the front bolt came loose. Once it was moving, I just pulled it the rest of the way with my hand.
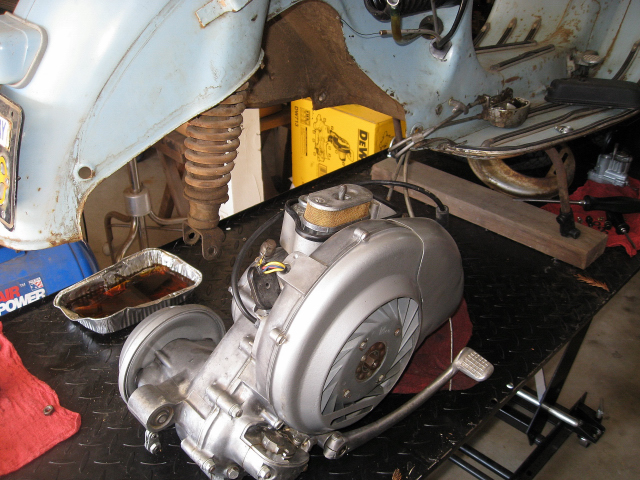
Here is a shot of the frame without the old motor, and with the new motor below, getting prepped for installation. I began preparing the new motor by removing the electrical junction, carb and airbox.
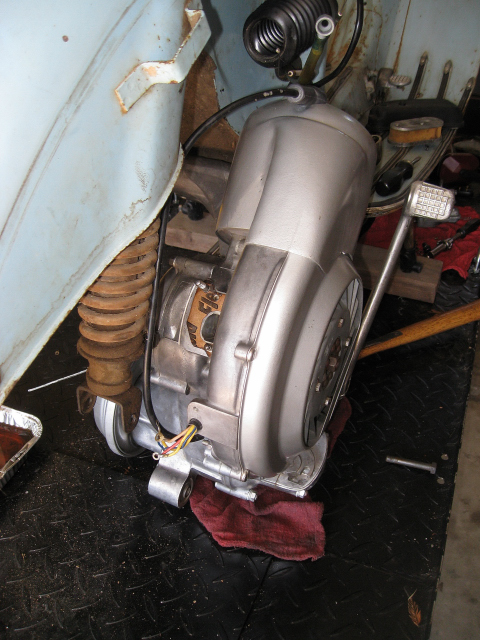
Then, I lifted the front of the motor into position. At the same time, I slid the front bolt through the motor and the frame. This takes a bit of fiddling to get everything lined up. Your patience and persistence will be rewarded. Of course, having an extra pair of hands and eyes sure helps... call a friend!
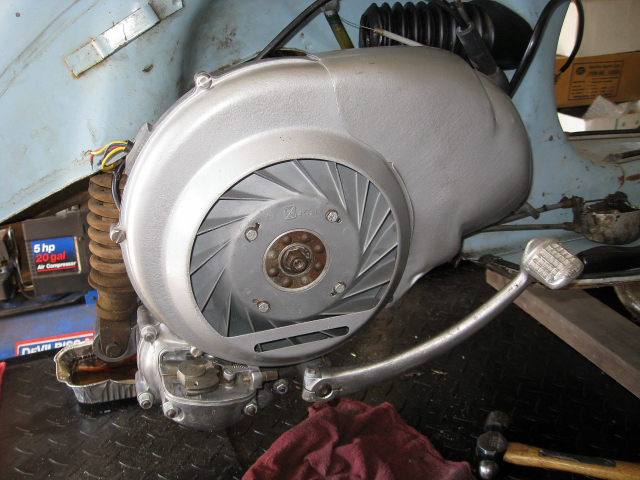
After the front is in, simply lift the back of the motor into position, and put the rear bolt in. Once that is done, it is time for all the tedious work of re-attaching all the control cables, etc. I started by removing the gear selector box on this motor, and attaching the one from the old motor, which was still attached to the cables. Then, I attached the clutch and rear brake. After that, it was time to deal with the carb. I put the fuel line into the bottom of the airbox first. Then attached the airbox to the motor. Then I put the carb in the airbox while attaching the throttle. With that secured, I put the fuel line on the carb. Next came the air filter and the choke cable. Once I had the air bellows on the airbox, I re-connected all the electrical wires. You did remember to keep that wiring diagram you made when you took it apart, right? Finally, I filled the motor with oil in the gearbox. Whew! All done.
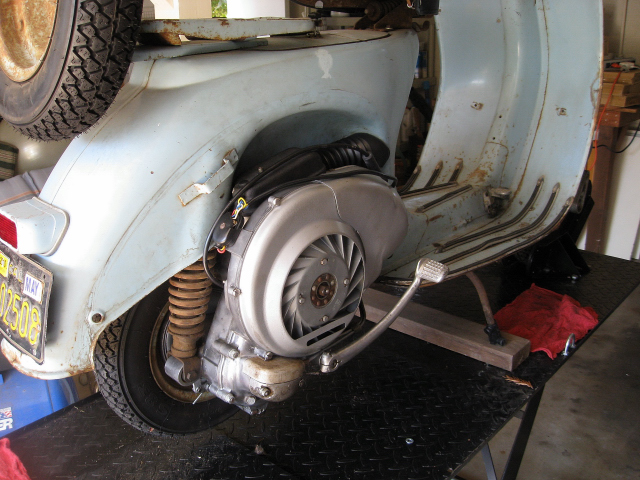
A final photo of the new motor installed in the frame and ready to roll. Once I got the scooter off the lift, I started it up. I made some minor adjustments to the cables and carb. She's running great!