
When last we left off with the motor swap, we had just removed the top of the airbox, and pulled the air filter and choke cable. Now, on to the carb!
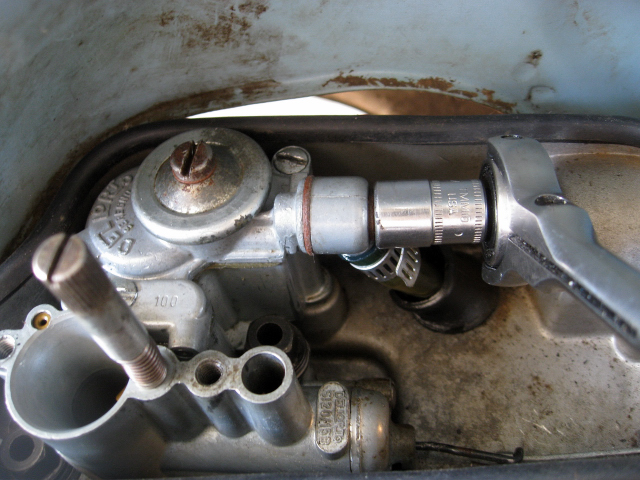
First, remove the fuel line. (Make sure the fuel lever is set to "off") It is held on by a single 10mm bolt. While it is slotted for a screwdriver, it is easier to use a ratchet to get it off. When you have the bolt off, pull the fuel line free of the carb, then down and out through the carb box. You may need to remove the "banjo", or fuel line/carb coupler to fit it through the bottom of the airbox.
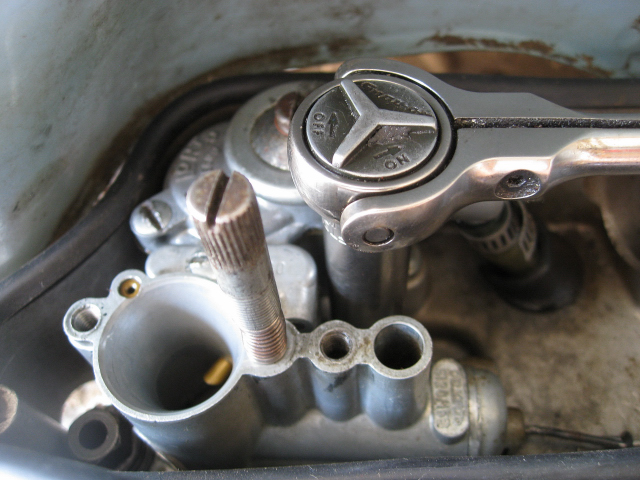
The carb itself is held on by two special bolts. It is easy to tweak the carb in this process, so be careful. I slowly remove the two bolts by turning each a quarter turn, alternating between them, until the tension is off the carb. With the bolts unscrewed completely, you can either remove them before you take the carb out, or keep them on the carb body during removal. Either way, you want to be careful with them. It is easy for them to fall off into the airbox. If one of the washers falls in to the rotary valve while it is open, you could have a serious problem. Do yourself a favor and be careful.
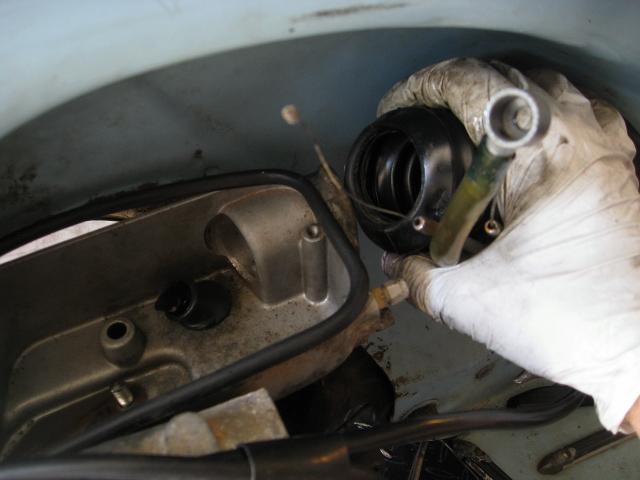
With the carb out of the airbox, now it is time to get all of the control cables, air bellows, and fuel line out of the way.
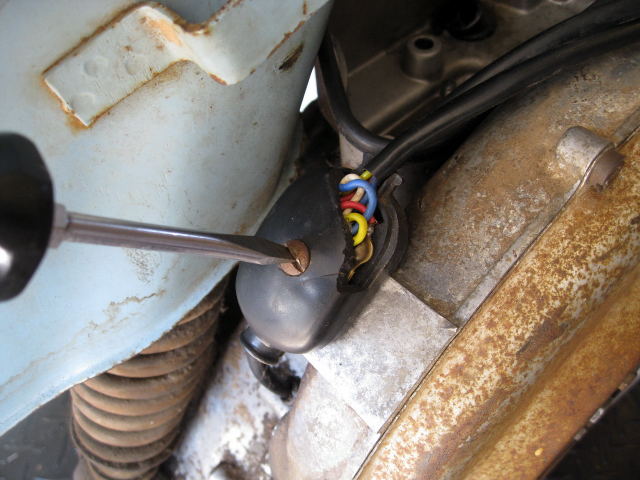
Next, it is time to get the electrical wires taken care of. As you can see, the wiring junction box cover on this scooter is cracked. No big deal, but just something to note. These bakelite parts are easy to break, unlike modern plastics.
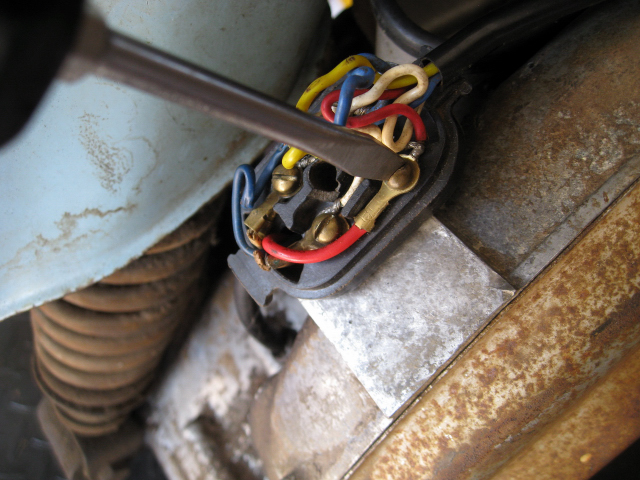
With the cover off, take note of where all the wires go. I like to write it down on a sheet of paper that I keep by the scooter for various notes. A photo with your digital camera also works well... Once you have memorialized where the wires go, take them all off the junction box, one by one.
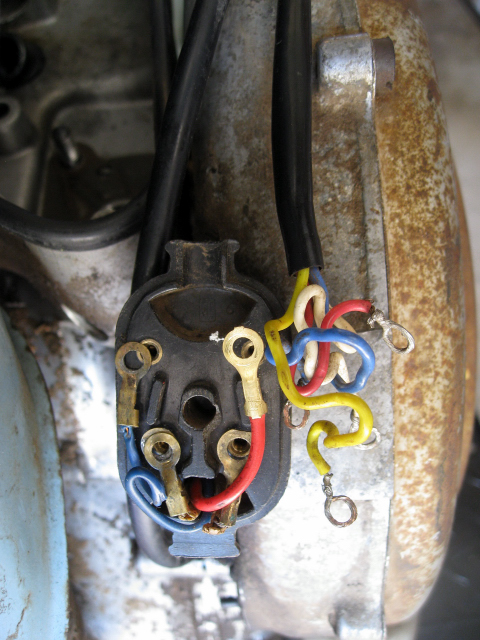
With the wires free, just pull the wiring loom up, and away from the motor. After this photo was taken, I put all of the little brass screws back into the junction box. You don't want to lose them!
To Be Continued in Part 3!