
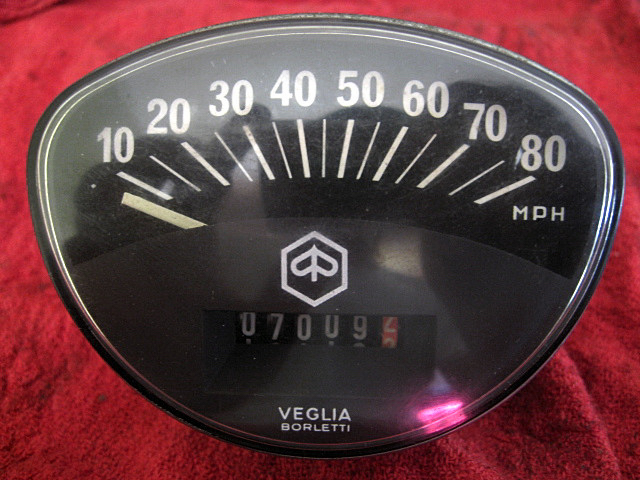
I've been working on scooters for a lot of years, but I recently attempted my first speedometer repair last weekend. It wasn't that I felt I couldn't do it before, but I just never had occasion to. Normally, I just don't care if the speedometer was working or not. Since this was a friend's scooter, I figured I'd try to delve into the speedo to get it working correctly. No time like the present!
So this particular speedometer exhibited some of the typical speedo problems that you see on old scooters. It was sort of working, but was making a loud screeching noise, and sometimes the needle would bounce around wildly. That is the death spiral for a speedometer. Normally after doing that for awhile, the needle stops working entirely. I decided to try to fix this one before it imploded...
By the way, have you subscribedto this blog?
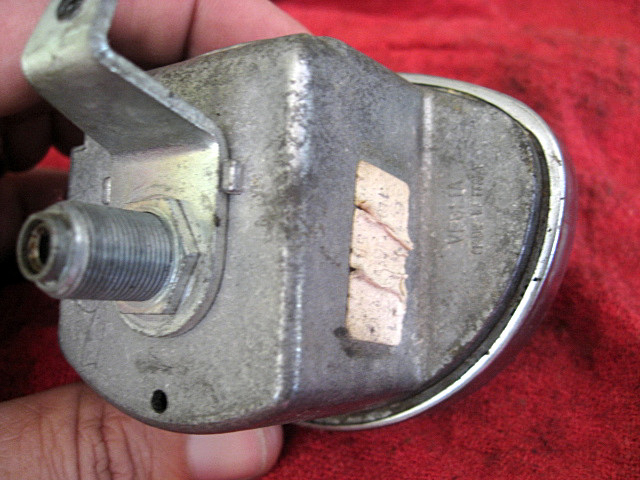
Here we have a view of the back side of the speedometer. You can clearly see how the chrome bezel is press fit around the edge of the bottom speedo housing. The bezel will have to come off in order to access the speedo mechanism.
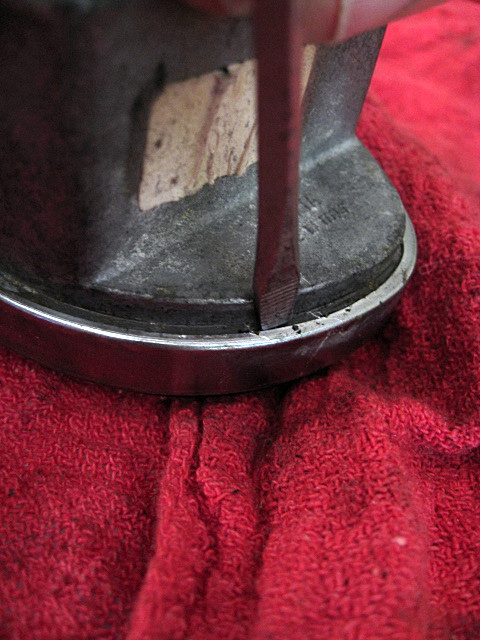
There is no easy way to do this that I am aware of. I simply had to get a screwdriver and slowly pry the bezel away from the speedo housing. This was not easy, and took a lot longer than I had anticipated.
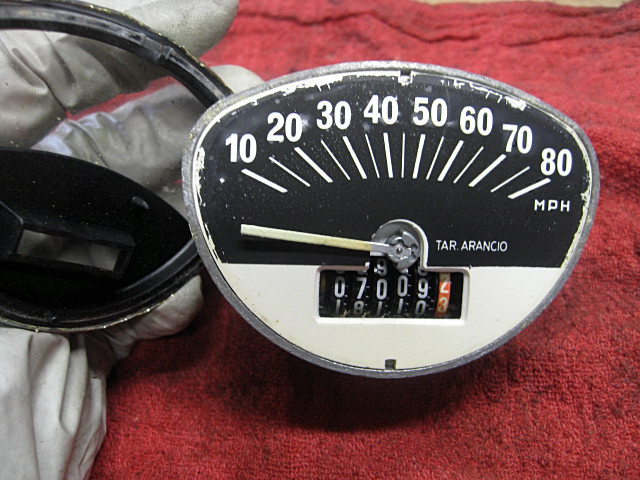
Once I finally got the bezel off, the speedo glass and top faceplate could come off. They are only held in place by the bezel. You have to be careful not to damage the needle when you take off the top faceplate. With the top faceplate off, you are left with the bottom faceplate and the speedo mechanism in the speedo housing.
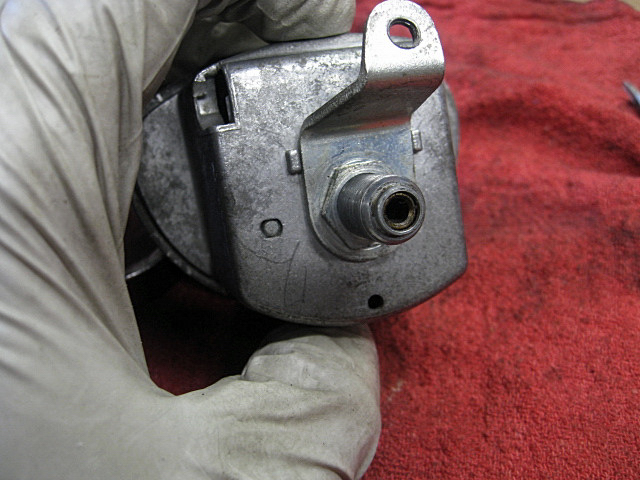
The mechanism is held in place by a nut at the base of the housing. Simply remove the nut, and the whole mechanism comes out.
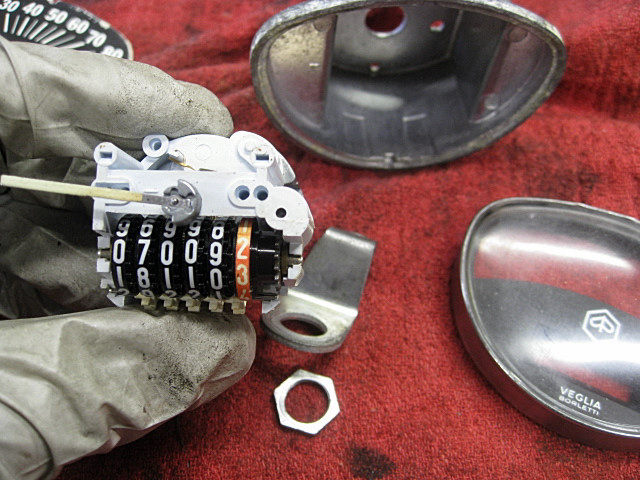
Here we see the mechanism removed from the housing. You also see the nut and the bracket, as well as all the other parts of the speedo. There are not many parts to this thing.
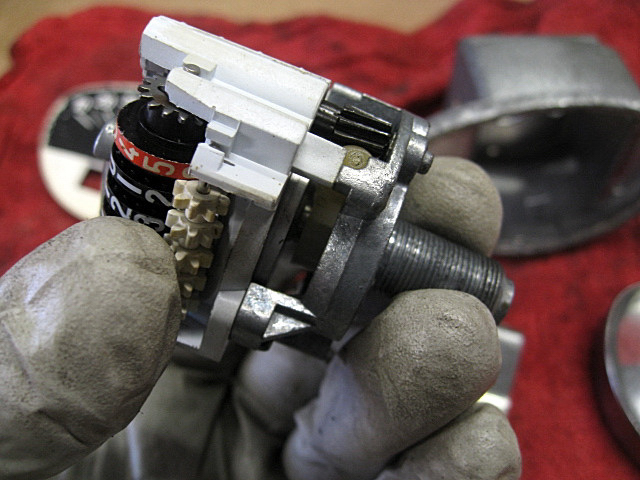
Now we can inspect the mechanism. I suspected that the problem with this speedo was that the mechanism was no longer lubricated, and that the various parts were binding up.
The principles of how the speedo works are fairly simply. The cable acts upon a shaft which has a magnetic disc at the end of it. Close to this disc is another magnet which is attached to the speedo indicator arm. That arm also has a clockwork spring on it which provide progressively stronger resistance. The spinning disc uses magnetic force to act upon the speedo arm. That force is resisted by the spring. As the disc spins faster, it creates greater force on the speedo arm, which overcomes the resistance of the spring, to move the needle farther.
In this case, I simply used white lithium grease, and sprayed it into the area where the shaft was housed in the mechanism. I also lubed up the speedo arm and the worm gear which moves the odometer.
Speaking of the odometer, I felt the urge to mess with it, while I already had the speedo apart. Could I successfully zero it out? As you can see in the picture above. the odometer has a series of gears which act upon it just below the numbers. Those gears are held on a slim shaft which is clipped in to the plastic mechanism base. I simply popped out the shaft, and the numbers spun freely. The tenths of a mile indicator is the only one which is actually attached to the worm gear on the speedo disc shaft. I could not move that one. The others were totally free. I spent a lot of time trying to get them lined up at zero. Every time I tried to put the gears back on, it would move the numbers. It was also hard to get them lined up exactly in position so they were set in the speedo faceplate window. This took a lot of trial and error. However, eventually I got it right.
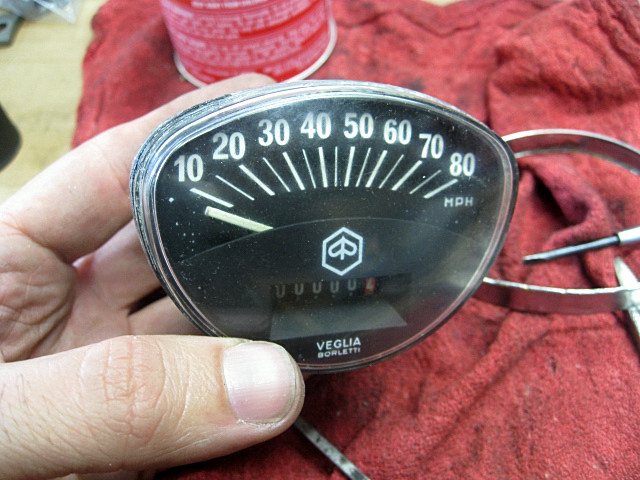
Here you see the speedometer back together, and note that the odometer numbers are set at zero! One thing to note is that the speedometer indicator arm rests on a pin which is set in the top faceplate. You have to manouver the top faceplate into place, and catch the needle. Otherwise, the needle's naturaly resting place is below (counterclockwise to) the pin, and it will be blocked by the pin. Ask me how I know....
With the parts back together and lubed up, now all you have to do is replace the bezel. This is also not a simple operation. I did not have any appropriate tool to press the bezel back around the housing in an elegant way. I used pliers and vice grips to do the job. However, the pressure on the bezel from the pliers left some visible marks on the top of the bezel. Not perfect, but that was all I could think of to get it into place.
In the end, I re-installed the speedo onto the scooter, and it worked great!