
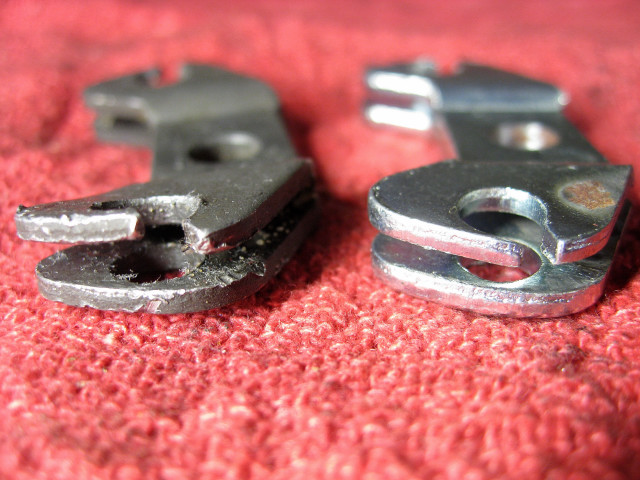
This is the tale of the small, hidden issues which make vintage vehicles so much of a frustration to may people. My friend had a 60's Allstate Vespa (similar to a VNB) which kept breaking gear cables. After I replaced the cable the second time myself, I decided to take a closer look at what was going on. Scooters should not break gear cables but once in a great while, so something was clearly amiss.
After checking from top to bottom, I noticed that the attachment point for the cable barrel-end in the handle bars looked a bit off. When I took it off the handlebar, I saw what you see on the left side of the picture above. It was clearly bent, but what is hard to see is that the chewed-up area on the inside of the cable pulley actually has some sharp edges. Howe they got there, I do not know. But I do know that they were acting as a knife, and cutting the cable. You see a brand new pulley on the right side for comparison.
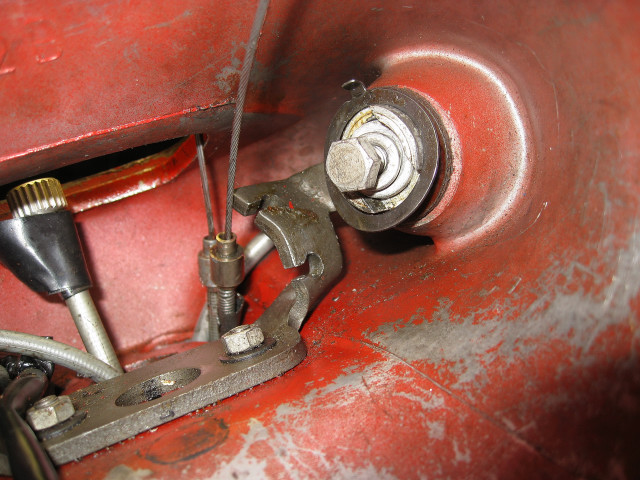
Here is a photo inside the headset, where the gear pulley attaches to the handle. You can see how nice and empty the 60's headsets are. It is easy to work in there without a lot of junk in the way! Note that I put a piece of tape around the end of the speedometer cable. That is so the nut which holds it onto the speedometer does not fall down the fork tube.
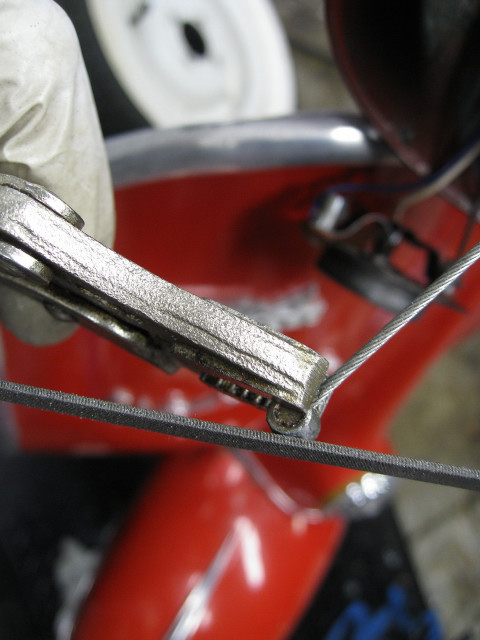
Here you see the fun of using new parts on old scooters. Many times, they just don't fit right. In this case, the cable barrel-ends are just a smidge too big to fit into the holes in the pulley. To get them to fit, I take a file and shave them down. This is a bit of trial and error until the fit and roll smoothly in the gear pulley.
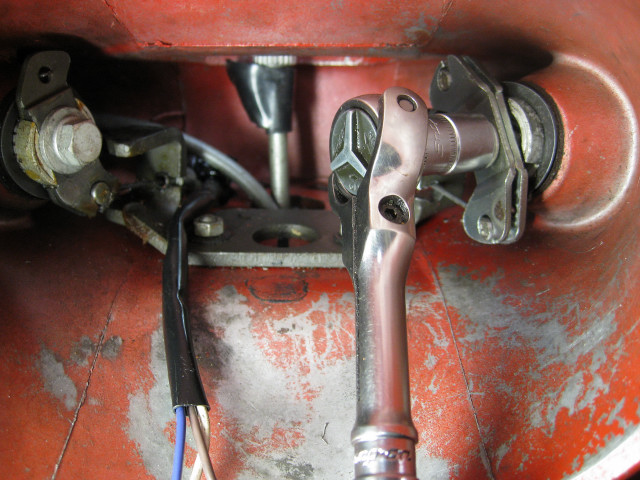
Once the cable ends fit in the pulley, it is time to attach the pulley onto the handlebar. Once again, note how sparse the headset is inside. Tasty!
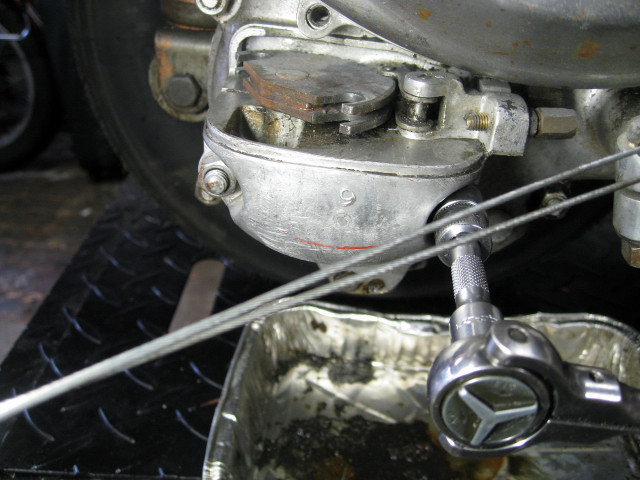
With the cables firmly in the pulley on the handlebar, it is time to turn our attention to the gear selector end. I start by pulling off the gear selector box. Note that I have a drip tray under the motor to catch any oil that spills out of the gear selector when I pull it off.
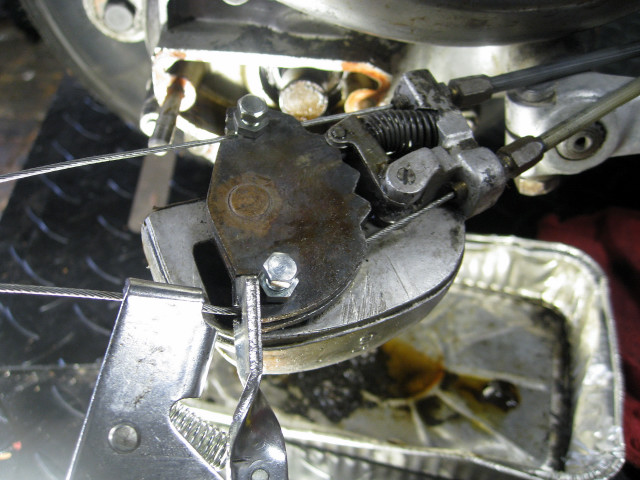
With the gear selector box off, I can use my third hand tool to adjust the cables into place. With both sides in, I check the adjustment by rolling the handle on the headset back and forth through the gears. Small adjustments can easily be made at this time with the cable adjusters at the front of the gear selector box. Click, click, click, all is adjusted properly.
Once the cables are adjusted, it is time to put the selector box back on the scooter. This is easier if you have the rear wheel off the ground. First pull the gear arm in the motor as far as it will go out of the motor. Then turn the handle on the headset so the gear selector box arm is all the way out of the selector box. Hook the arm on the gear selector on the gear arm in the scooter and line up the selector box with the case studs. With that done, apply some pressure on the gear selector box arm by twisting the handle on the headset. Your aim is to get the selector box centered and on track on the case studs. Then, while continuing to keep pressure on the cables with the headset handle, lightly tap the selector into place with a rubber mallet. It should go smoothly onto the case. With that done, put on the two nuts that attach the gear selector box. Then, rotate the rear wheel while turning the handle on the headset until you get the scooter into neutral.
Then you are ready to roll with your new gear cable!