
For those of you in the US, it is not news to point out that Piaggio pulled some funky shortcuts to comply with Federal law in the 1970's. The list of silly, poorly thought out designs is long. For this post, I'll just stick to one of them - the fuel lever.
There appears to have been some regulation which required that the fuel shut-off be clearly labeled and have the "off" position in the center. Piaggio put special US-only fuel taps on US market scooters with "off" in the center. All other markets had the "off" on the right "clockwise" position. The way that they got around the labeling requirement was to make a special US-only fuel lever. The problem was that the lever was made of plastic, and used a bevel gear (also plastic) to turn the lever in the scooter frame. We all know where this ends up...
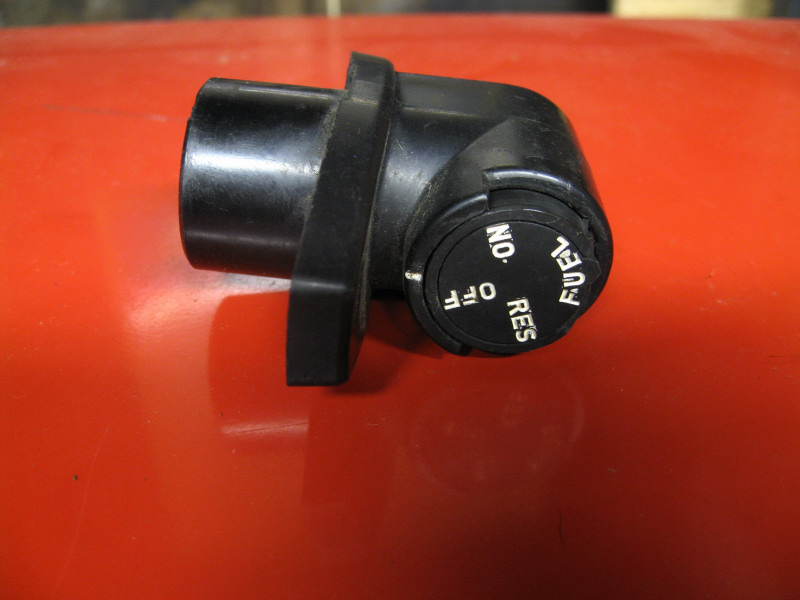
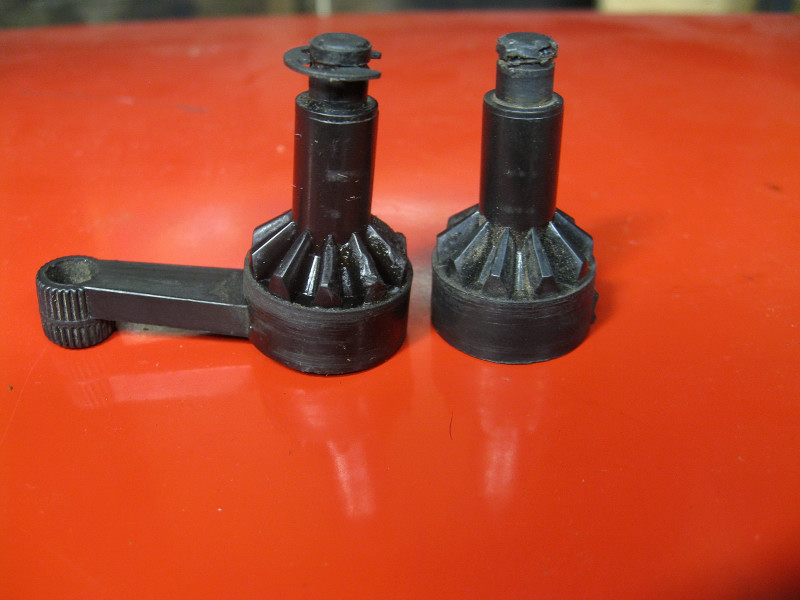
(Here you see the internal gear of the switch. Note the left one is very worn. The right is for comparison)
These US-only levers are not being reproduced. So if you have one, and it breaks, you basically have to replace it with something else. There are several options, but the most popular is a conversion to the European style fuel lever. You will need to purchase two parts - a fuel rod, and a fuel plate conversion kit.
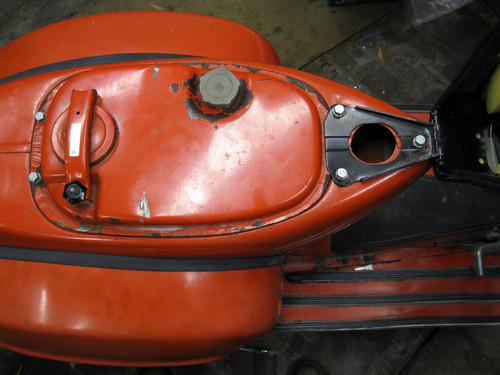 The first step is to remove the seat, so you can have easy access to the gas tank. The seat is held on by three bolts at the front of the tank.
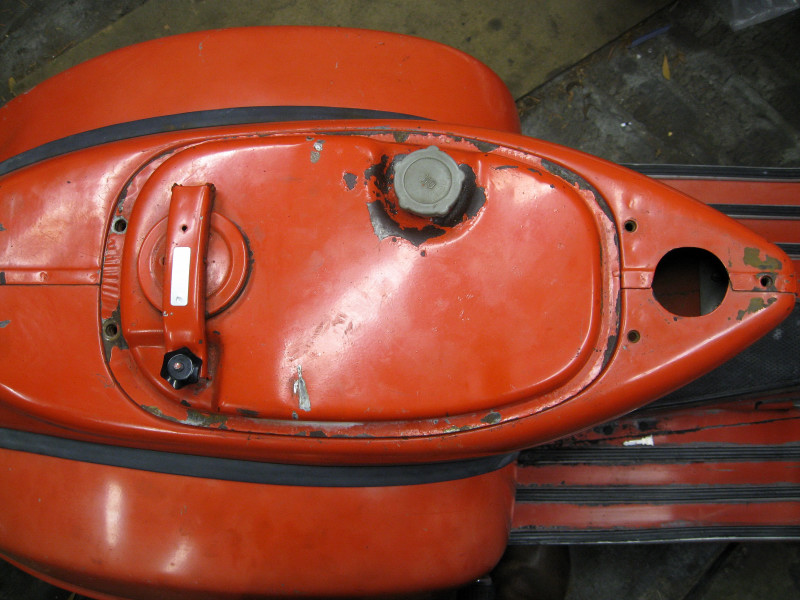 Once the seat is off, remove the remaining rear bolts which hold the tank down on the frame.
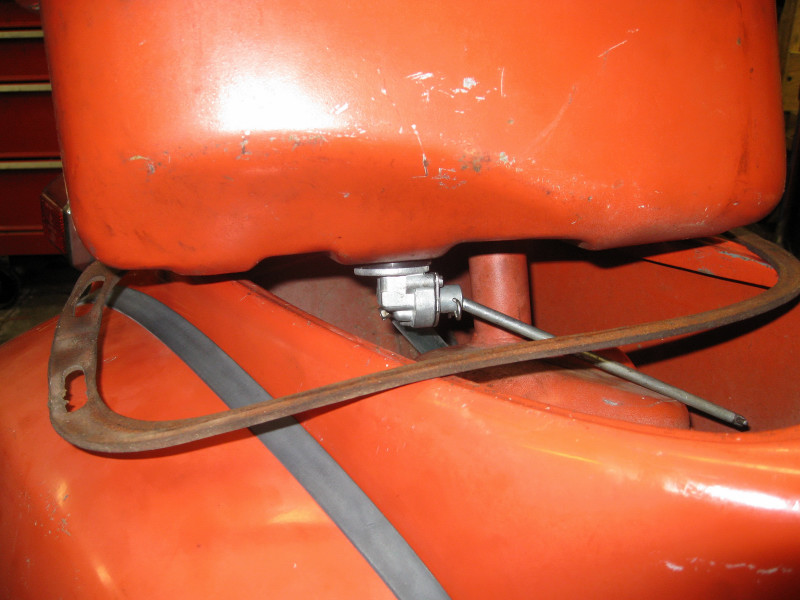 Now you can remove the tank. Pull up on the back of the tank, and lift it out of the frame. Since the fuel and oil lines will still be attached, the tank will not come out all the way. You just need to lift it enough to gain access to the petcock. If you want to replace the petcock, now is the time. (ed note: though that is another post) Once you see the petcock, you'll notice that the fuel rod is attached by a clip. Remove the clip, and replace the rod with the Euro-style rod. Then, replace the gas tank into the frame. Be careful to route the rod through the frame hole, and make sure not to pinch the fuel line.
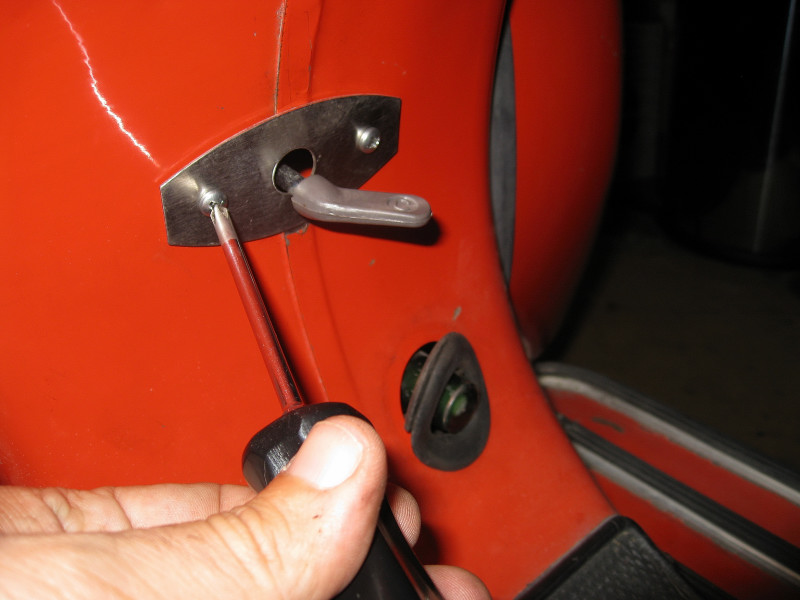 With the fuel rod set in the frame opening, you can get to work installing the new locating plate. It is simply a metal plate which fills the large frame hole from the US lever. Place the fuel rod through the opening in the plate, and screw the plate into the frame holes from the US lever.
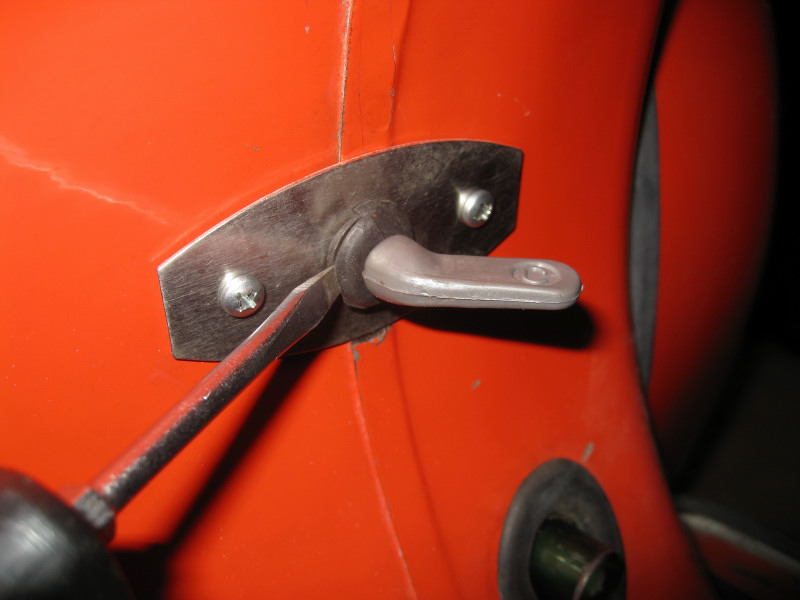 The next step is to install the fuel rod grommet into the locating plate. This takes a little patience. Just get one lip through the plate, and slowly work the grommet around the edge with a flat blade screwdriver.
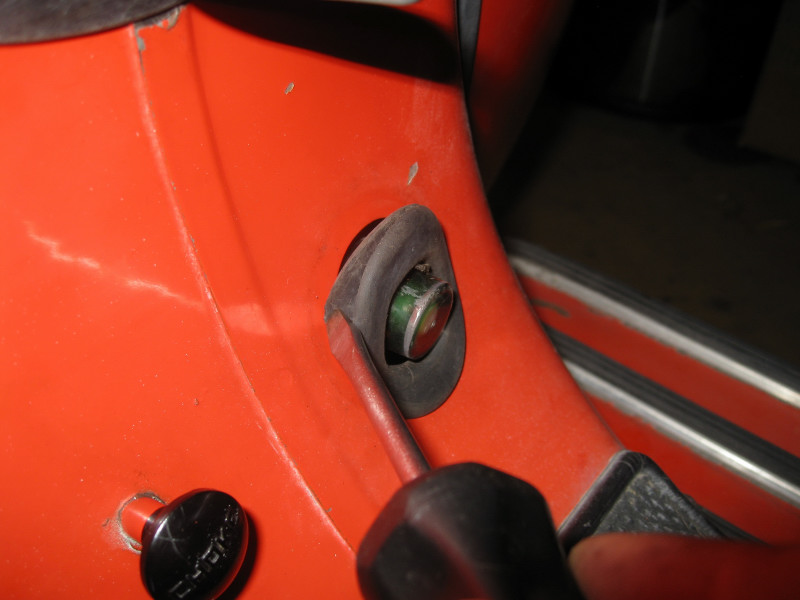 If the rubber grommet for the oil tank sight glass became dislodged when you put the tank back into the frame, now is the time to get it back into place as well. Work around the edges with your screwdriver. Be careful not to scratch the paint. If you are especially clumsy, you may want to cover the screwdriver tip with some masking tape to prevent scratches.
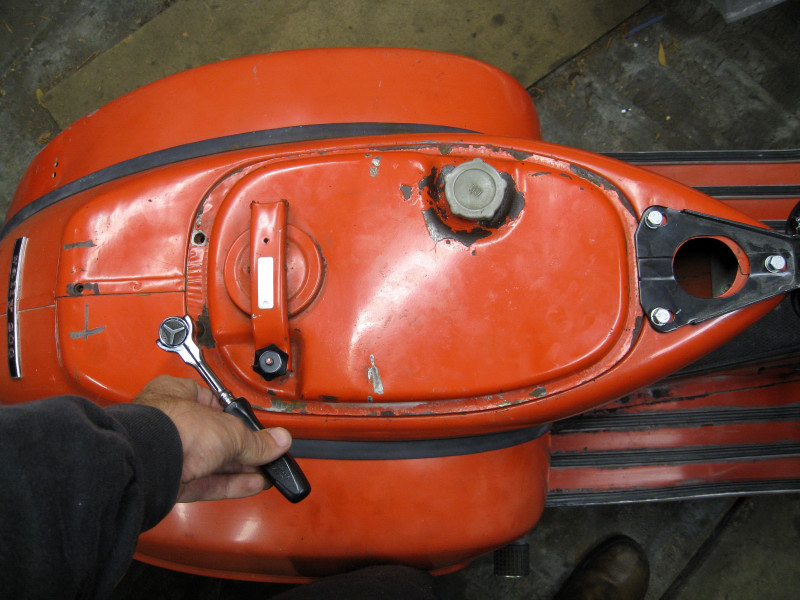 With everything in place, it is time to bolt the tank down into place. You want to get all of the five bolts for the seat and the tank installed loosely first. Once all of the bolts are in, you can adjust the seat. Make sure that when it closes, that the latch fully engages, and that it unclips the seat from the rear pin as well. Tighten the seat, and then the rear bolts.
Now, flip the fuel valve to "on", and hop on your scooter for a well-deserved ride!