
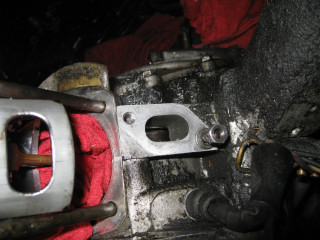
Now that I had tracked the problem down to the intake manifold, all I had to do was tighten it down, and the problem would be solved... right? Uh-huh, well it is never that easy in vintage vehicle land.
I noticed right away that someone had replaced one of the studs which the manifold mounts to, to a bolt. So there was a case stud on one side, and a bolt on the other. Naturally, it was the bolt side which was loose. As I attempted to tighten it, I realized that something had stripped. Of course, it was not the bolt which was stripped, but the threads in the case. This is the reason why studs are used in applications like this. The case is made of soft metal, and it is very easy to overtighten something, and strip out the threads.
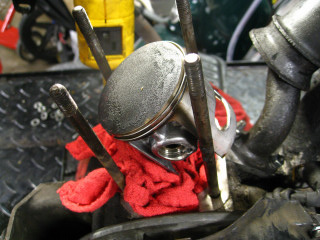
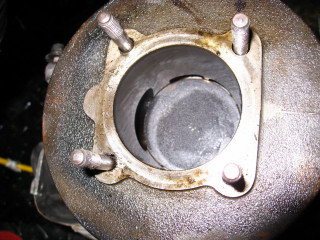
Now, I was faced with a problem. The area which was stripped was very hard to reach. In order to get to it, I would have to take off the top end and fully drop the motor. With all of that out of the way, I saw that the case didn't appear to be destroyed, and I thought that I could do a thread repair with a heli-coil.
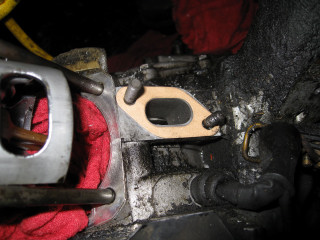
I had some assistance from my friend Derek, and we installed the heli-coil. It involves drilling out the old hole, tapping it with a special tool, and then threading in the replacement threads into the newly tapped area. It is a delicate operation because you have to make sure that the new hole you drill and tap is perpendicular to the case. Otherwise, you end up with a crooked stud, and can't mount the manifold! We got it all set fine, and finally got the stud in. Of course, I opted to throw away the old bolt, and install the correct stud. No sense in going through all that work just to have it strip out again!
With the new stud in, all that was left to do was to put everything back together, and get the motor back in the frame correctly.
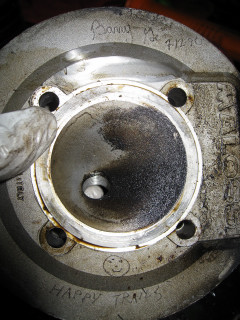
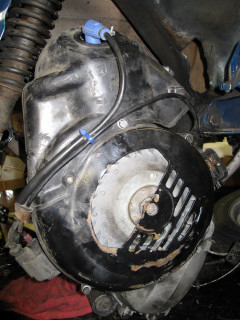
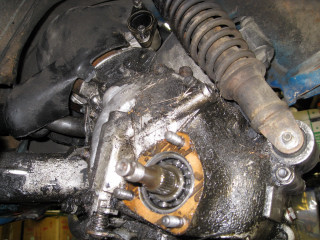
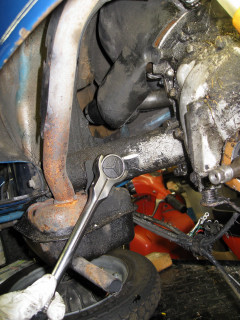
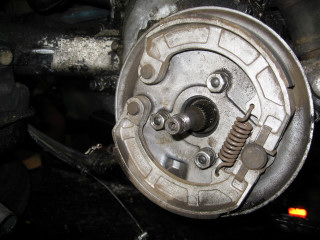
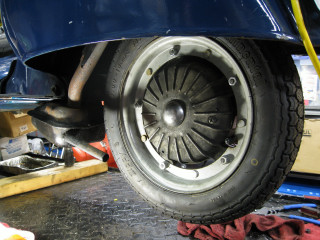
All that is left to do now is to get the fuel system back in the scooter. The carb is already rebuilt. All I have to do is get the carb back on the manifold, and the fuel tank back in the frame. After that, time to start it up, and hope that she runs like a champ!